
Crafting Your Own Pull-Up Bar for Home Workouts
In today’s fast-paced world, maintaining a healthy and active lifestyle is more important than ever. With the convenience of working out at home, many fitness enthusiasts are looking for creative ways to set up their own home gym. One excellent addition to any home gym is a pull-up bar. Not only does it provide an effective upper body workout, but it also takes up minimal space and is budget-friendly. In this comprehensive guide, I’ll take you through the process of crafting your own pull-up bar for home workouts. We’ll delve into the benefits of doing so, provide you with detailed step-by-step instructions, and offer practical suggestions to ensure your home gym is well-equipped.
Why a Pull-Up Bar?
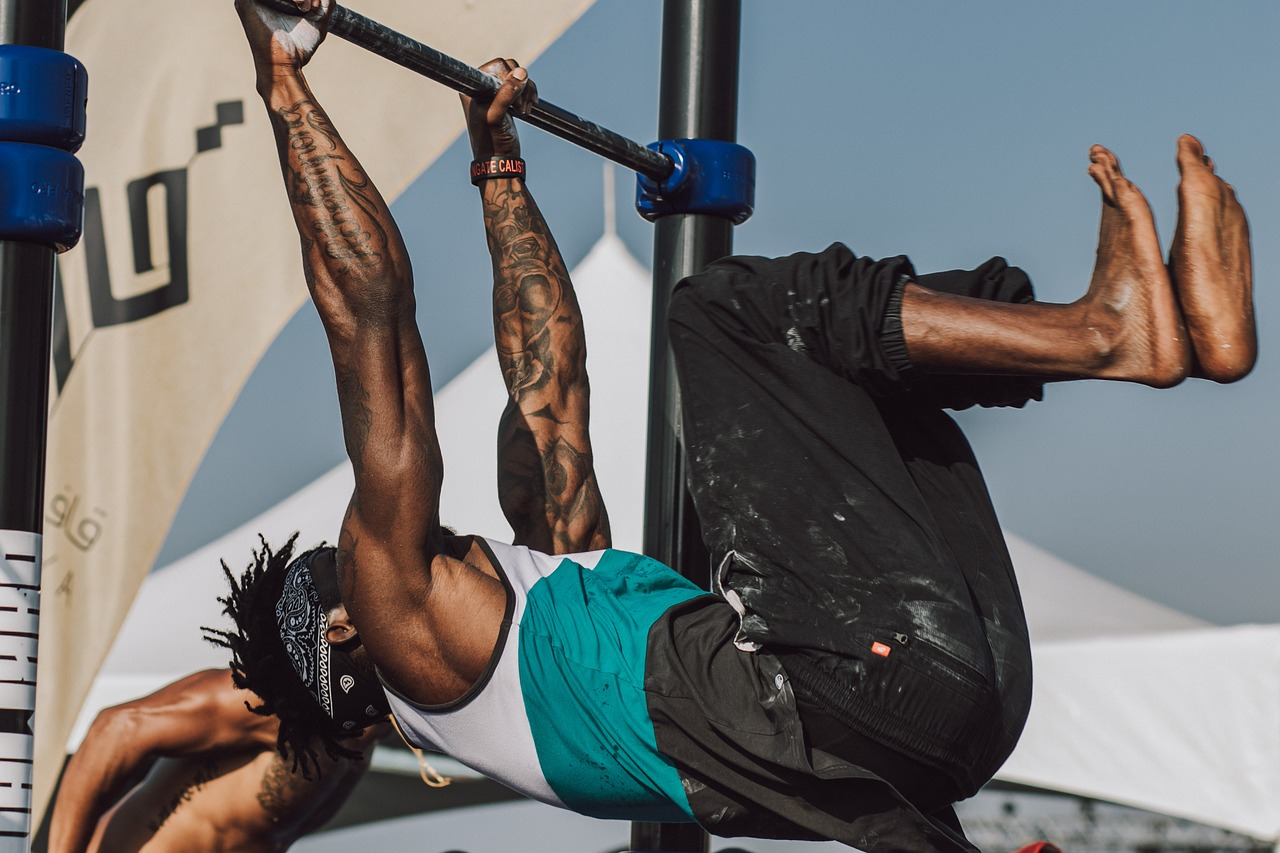
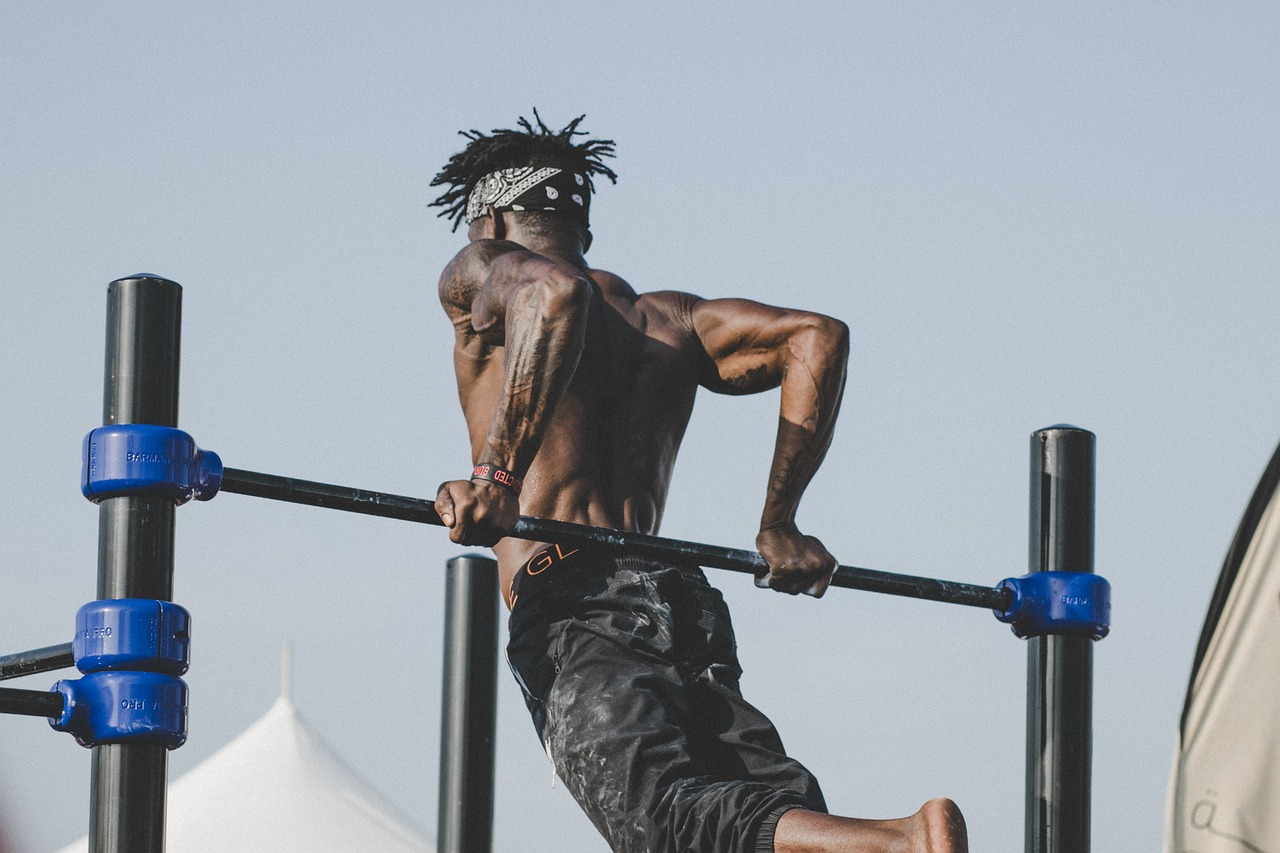
Before we dive into the nitty-gritty of crafting your pull-up bar, let’s talk about why you should consider having one in your home gym. Pull-ups are an incredible compound exercise for strengthening your upper body, targeting muscles such as the latissimus dorsi, biceps, and shoulders. They also engage your core and improve grip strength. With a pull-up bar at home, you can easily incorporate this versatile exercise into your daily routine without the need for expensive gym memberships or bulky workout equipment. It’s a cost-effective and space-saving solution that offers fantastic fitness benefits.
Materials Needed
To get started with your DIY pull-up bar project, you’ll need a few essential materials:
Selecting the Right Wooden Bar
Choosing the right wooden bar is crucial for both comfort and safety during your workouts. Opt for a sturdy, high-quality wooden bar with a diameter of around 1.5 inches. This size provides a comfortable grip for most individuals, reducing the risk of hand fatigue.
Choosing the Perfect Metal Brackets
Invest in durable metal brackets that will securely attach your wooden bar to the wall. Ensure these brackets are rated to support the weight capacity you require. Quality brackets provide stability and ensure your safety during workouts.
Essential Screws and Anchors
Select high-quality screws and wall anchors to guarantee the stability of your pull-up bar. The screws should be long enough to securely fasten the brackets to the wall while supporting your body weight.
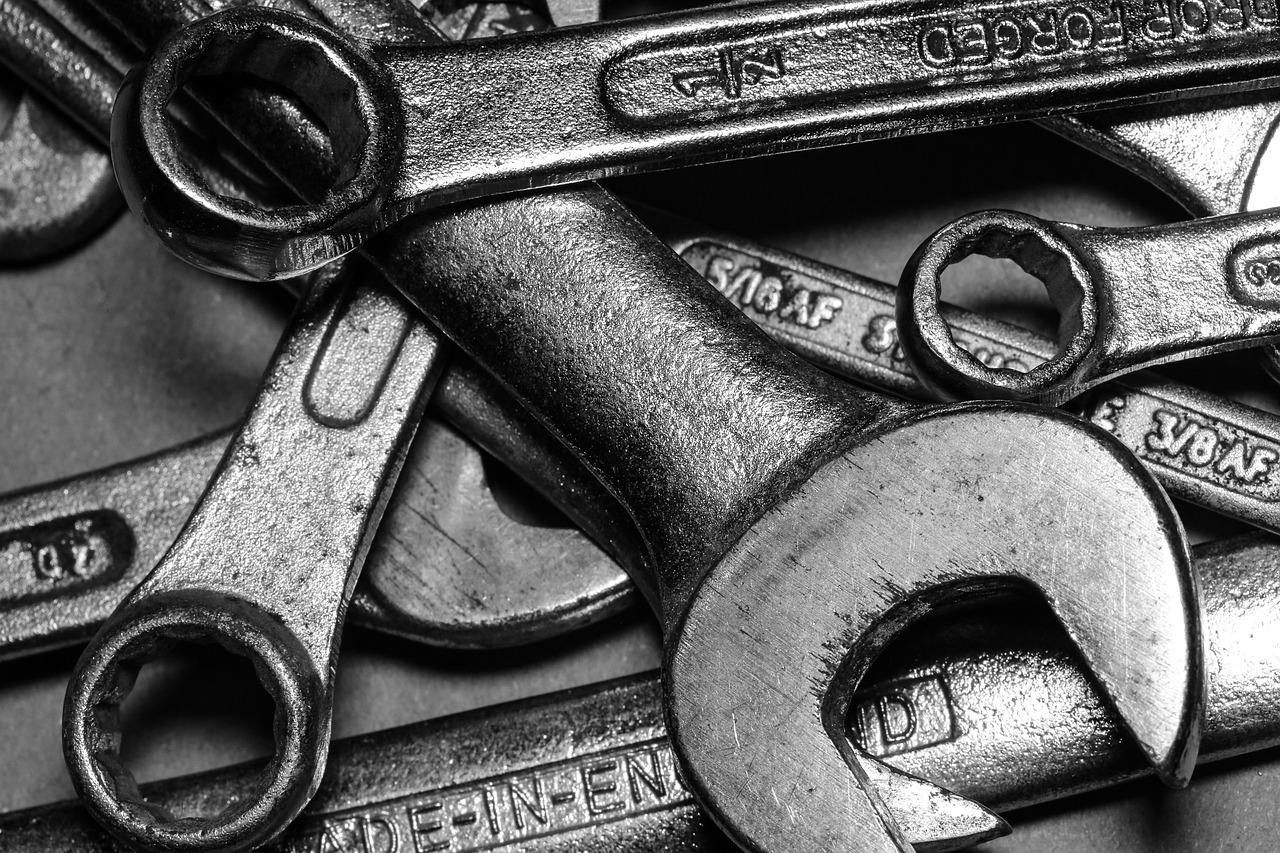
The Must-Have Tools
To complete your DIY pull-up bar project, you’ll need a set of essential tools, including a drill, screwdriver, level, measuring tape, and a pencil. These tools are essential for precise measurements, secure installation, and a professional finish.
Choosing the Right Location
Selecting the ideal location for your pull-up bar is pivotal for your safety and workout experience. Look for a spot with sufficient overhead clearance for your body to move freely during pull-ups, and ensure there are no obstacles that could interfere with your movements. It’s also essential to check whether the wall can support the weight and force generated during your workouts. Wall-mounted pull-up bars are generally more stable and space-efficient compared to doorway bars.
Measuring and Marking
Before you begin the installation process, meticulously measure and mark the exact height and spacing for your brackets and wooden bar. Use a level to ensure that everything is perfectly straight and level. Accurate measurements and precise markings are critical to achieving a secure and balanced pull-up bar.
Assembly Process

Attaching Brackets to the Wall
To begin the assembly process, securely attach the metal brackets to the wall using the selected wall anchors and screws. Make sure the brackets are level and parallel to each other. Double-check their stability and ensure they are firmly anchored to the wall.
Securing the Bar in Place
Once the brackets are securely in place, it’s time to attach the wooden bar. Ensure it’s centered between the brackets and firmly secured. Test the stability of the bar by gently pulling on it before attempting any exercises. Your safety is paramount.
Safety Precautions

Safety should always be your top priority when using a pull-up bar. Here are some essential safety precautions to keep in mind:
Warming Up and Proper Form
Before doing pull-ups, warm up your muscles to prevent injury. Start with a few dynamic stretches and low-intensity exercises. When performing pull-ups, focus on proper form to avoid strain or discomfort. Engage your core, retract your shoulder blades, and maintain a controlled, smooth motion throughout the exercise.
Gradual Progression

If you’re new to pull-ups or haven’t been working on your upper body strength, start with the easiest variation. This might involve using resistance bands to assist you or performing negative pull-ups (lowering yourself slowly). Gradually increase the number of repetitions and the difficulty of your workouts as you build strength.
Benefits of DIY Pull-Up Bars
Crafting your pull-up bar has numerous advantages beyond the cost savings. It allows you to customize your bar to your preferences, including choosing the type of wood, its thickness, and the finish. This customization ensures that your pull-up bar seamlessly integrates into your home gym’s aesthetics. Moreover, building your pull-up bar can be a rewarding DIY project that enhances your sense of accomplishment and connection to your fitness journey.
Variations and Customization
One of the great things about crafting your pull-up bar is the opportunity for creativity and customization. While a basic pull-up bar provides excellent upper body workouts, you can take it to the next level by adding variations and customizations:
- Additional Handles or Grips: Consider adding extra handles or grips for different exercises like chin-ups, neutral grip pull-ups, or leg raises. These additions make your home gym more versatile, allowing you to target different muscle groups.
Adding Accessories
Enhance your pull-up bar setup with accessories to expand the range of exercises you can perform. Some useful additions include:
- Resistance Bands: Attach resistance bands to your pull-up bar for assisted pull-ups or use them for various resistance exercises.
- Dip Bars: Incorporate dip bars on your pull-up bar setup for working on your triceps and chest muscles.
- Hanging Ab Straps Kit: Hang ab straps from your pull-up bar for effective abdominal workouts.
These accessories make your home gym more versatile, allowing you to target various muscle groups and intensify your workouts.
Effective Pull-Up Bar Workouts
Now that you have your pull-up bar set up, it’s time to explore a range of effective pull-up bar workouts to maximize your fitness gains. Here are some key exercises to consider:
Wide-Grip Pull-Ups
Wide-grip pull-ups target your latissimus dorsi muscles (lats) and help develop a wider back. Grasp the bar with your hands positioned wider than shoulder-width apart, and pull your chest towards the bar.
Close-Grip Pull-Ups
Close-grip pull-ups emphasize your biceps and provide a great forearm workout. Grip the bar with your hands close together, slightly narrower than shoulder-width, and pull your chest towards the bar.
Hanging Leg Raises
Hanging leg raises are excellent for strengthening your abdominal muscles. Hang from the bar and lift your legs while keeping them straight. Lower them back down with control.
Maintenance and Durability
Ensuring the long-term durability of your pull-up bar is essential for safe and effective workouts. Here are some maintenance tips to keep in mind:
Regular Inspections
Periodically inspect your pull-up bar for signs of wear and tear, including any loosened screws or brackets. Tighten any loose components immediately to maintain stability.
Cleaning and Maintenance Tips
Keep your wooden bar clean and free from moisture or debris that could compromise its integrity. Sand any rough spots or splinters to prevent injury. If the wood becomes damaged or weakened over time, consider replacing it to ensure your safety during workouts.
Cost-Effectiveness and Longevity
One of the most significant advantages of crafting your pull-up bar is its cost-effectiveness and long-term durability. While initial setup costs may include materials and tools, the long-term benefits far outweigh the investment. You’ll enjoy a reliable and effective fitness tool that can last for years, providing you with countless workout opportunities without the need for expensive gym memberships or bulky equipment.
Conclusion
In conclusion, building your pull-up bar for home workouts is a fantastic investment in your fitness journey. It’s not only budget-friendly but also customizable to your preferences. A well-constructed pull-up bar offers a wide range of exercises to help you achieve your fitness goals. Take the time to plan and execute your DIY project safely, and you’ll enjoy the benefits of a pull-up bar for years to come.
Frequently Asked Questions
Is it challenging to build a pull-up bar on my own?
- Building a pull-up bar requires some basic DIY skills, but it’s a manageable project with the right materials and tools. The satisfaction of crafting your fitness equipment is worth the effort.
What is the weight capacity of a DIY pull-up bar?
- The weight capacity of your DIY pull-up bar depends on the quality of materials and installation. Ensure your chosen bar and brackets can comfortably support your body weight to guarantee safety during workouts.
Can I install a pull-up bar in an apartment or rented space?
- Yes, you can typically install a pull-up bar in most apartments or rented spaces. However, it’s essential to check with your landlord or property management for any restrictions or guidelines regarding installations.
Are there alternative exercises I can do with a pull-up bar?
- Absolutely! In addition to pull-ups, you can perform various exercises, including hanging leg raises, knee tucks, chin-ups, and even use it as a base for suspension trainers or resistance band workouts.
How often should I do pull-up bar workouts to see results?
- Consistency is key to seeing results. Aim to incorporate pull-up bar workouts into your routine at least three times a week. Gradually increase the number of repetitions and intensity as your strength improves to continually challenge your muscles and achieve your fitness goals.


