
DIY Tire Seating: Transforming Discarded Tires into Functional Furniture
As an avid DIY enthusiast, I’m excited to share with you the wonders of turning discarded tires into functional and stylish furniture pieces for your outdoor space. In this comprehensive guide, I’ll walk you through the process of creating DIY tire seating, discussing its benefits, materials needed, step-by-step instructions, safety precautions, creative ideas, maintenance tips, and more.
Benefits of DIY Tire Seating
DIY tire seating isn’t just about recycling old tires; it’s about embracing creativity and sustainability. Let’s delve deeper into the compelling reasons why you should consider transforming those old tires into seating masterpieces:
Cost-effective
One of the most significant advantages of DIY tire seating is its affordability. Outdoor furniture can be quite expensive, but with DIY tire seating, you can repurpose old tires that would otherwise end up in landfills. By utilizing materials that are readily available and often free, you can save a significant amount of money while still achieving stylish and functional seating solutions.
Eco-friendly
By repurposing old tires, you’re not only saving money but also making a positive impact on the environment. Every tire that gets transformed into seating reduces waste and minimizes the need for new materials, thereby reducing your carbon footprint. Instead of contributing to the cycle of consumption and disposal, you’re actively participating in sustainable practices that benefit the planet.
Customizable
With DIY tire seating, the design possibilities are virtually endless. You have the freedom to unleash your creativity and personalize your outdoor seating to suit your unique style and preferences. Whether you prefer bold and vibrant colors or subtle and understated designs, you can customize your DIY tire seating to complement your outdoor aesthetic perfectly. Additionally, you can adjust the size, shape, and features of your seating to fit your space and needs perfectly.
Materials Needed
Before you embark on your DIY tire seating project, gather the following materials:
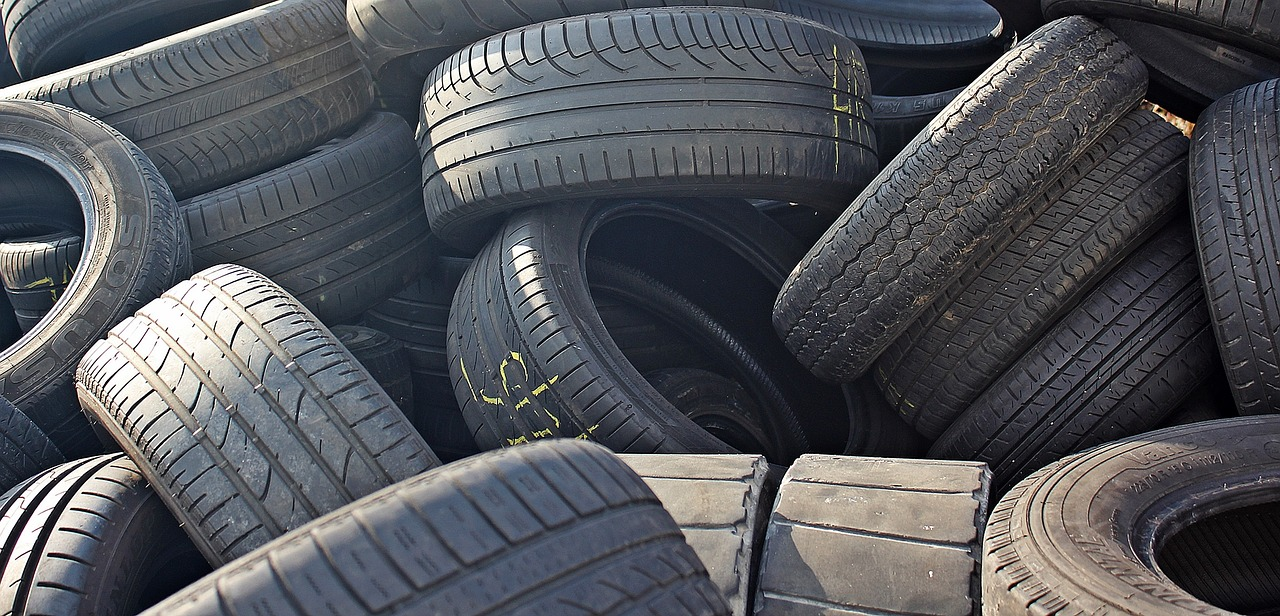
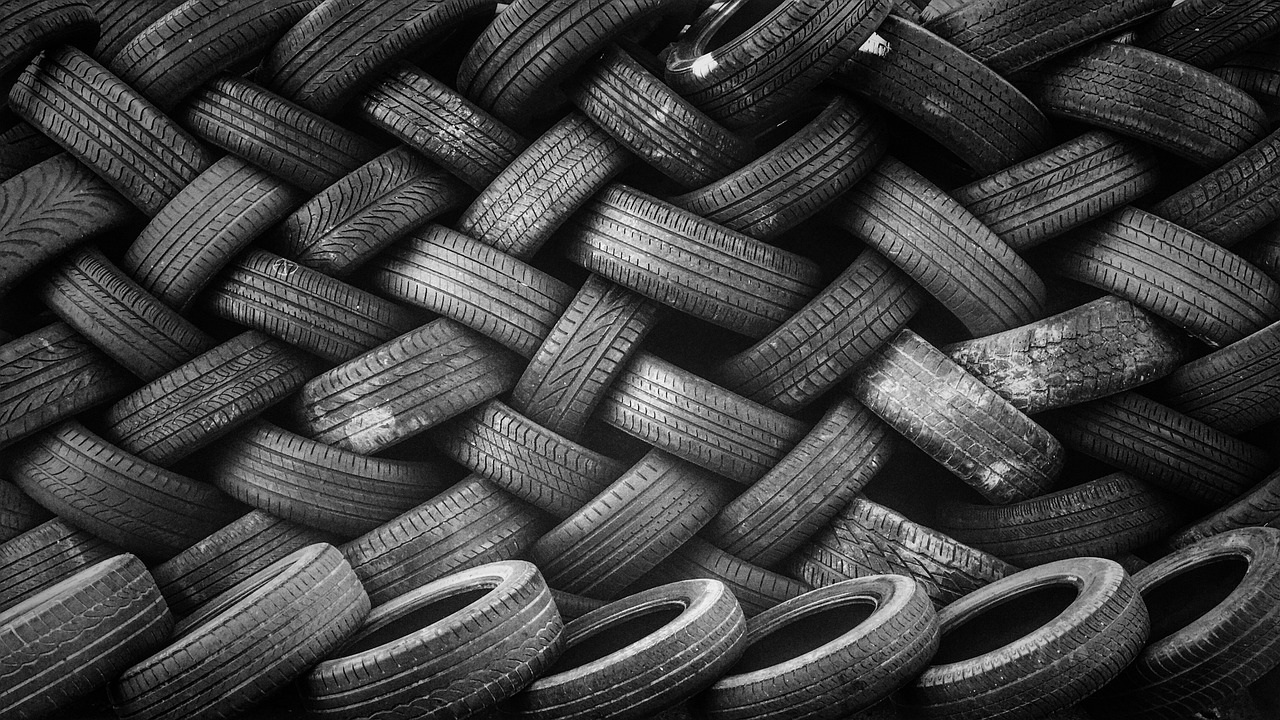
- Old Tires: Collect old tires in good condition, preferably without significant damage or structural issues. You can often find discarded tires at tire shops, recycling centers, or even in your own garage.
- Outdoor Paint: Choose high-quality outdoor paint designed to withstand the elements. Opt for colors that complement your outdoor decor and personal style.
- Cushions or Padding: Select cushions or padding that are suitable for outdoor use and provide sufficient comfort and support.
- Paintbrushes: Ensure you have a variety of paintbrushes suitable for applying paint to various surfaces and reaching tight spaces.
- Protective Gear: Wear protective gloves to prevent skin irritation from handling the tires, and consider wearing a respirator mask to protect yourself from paint fumes.
Step-by-Step Guide
Now, let’s break down the process of creating DIY tire seating into simple, easy-to-follow steps:
- Cleaning the Tires: Start by thoroughly cleaning the tires to remove any dirt, debris, or leftover residue. Use soap, water, and a stiff brush to scrub the surface of the tires inside and out. This step is crucial for ensuring proper adhesion when painting and creating a clean, polished finish.
- Preparing the Work Area: Set up a designated work area outdoors where you can safely clean, paint, and assemble your DIY tire seating. Lay down a tarp or drop cloth to protect the ground from paint spills and make cleanup easier.
- Painting the Tires: Once the tires are clean and dry, it’s time to unleash your creativity with paint! Use outdoor paint in your desired colors and designs to transform the tires into works of art. Consider using stencils, tape, or freehand techniques to create patterns, motifs, or intricate designs. Allow the paint to dry completely between coats, and apply a clear sealant for added durability and weather resistance.
- Adding Cushions or Padding: After the paint has dried completely, it’s time to add cushions or padding to the inside of the tires to create comfortable seating. Choose cushions or padding that are specifically designed for outdoor use and provide sufficient support and comfort. You can secure the cushions in place using adhesive or fabric ties for added stability.
Safety Precautions
When working with old tires and paint, it’s essential to prioritize safety to prevent accidents and ensure a positive DIY experience:
- Wear Protective Gear: Always wear protective gloves to prevent skin irritation from handling the tires and paint. Consider wearing a respirator mask to protect yourself from inhaling paint fumes, especially if you’re working in a poorly ventilated area.
- Work in a Well-Ventilated Area: Whenever possible, work outdoors or in a well-ventilated area to minimize exposure to paint fumes and ensure proper airflow. If working indoors, open windows and doors to allow fresh air to circulate.
- Use Caution When Handling Tools: Exercise caution when using tools such as paintbrushes, scissors, or utility knives to avoid accidents or injuries. Follow manufacturer instructions and safety guidelines at all times.
Creative Ideas for Tire Seating
Beyond traditional seating, there are countless creative ways to repurpose old tires and elevate your outdoor space:
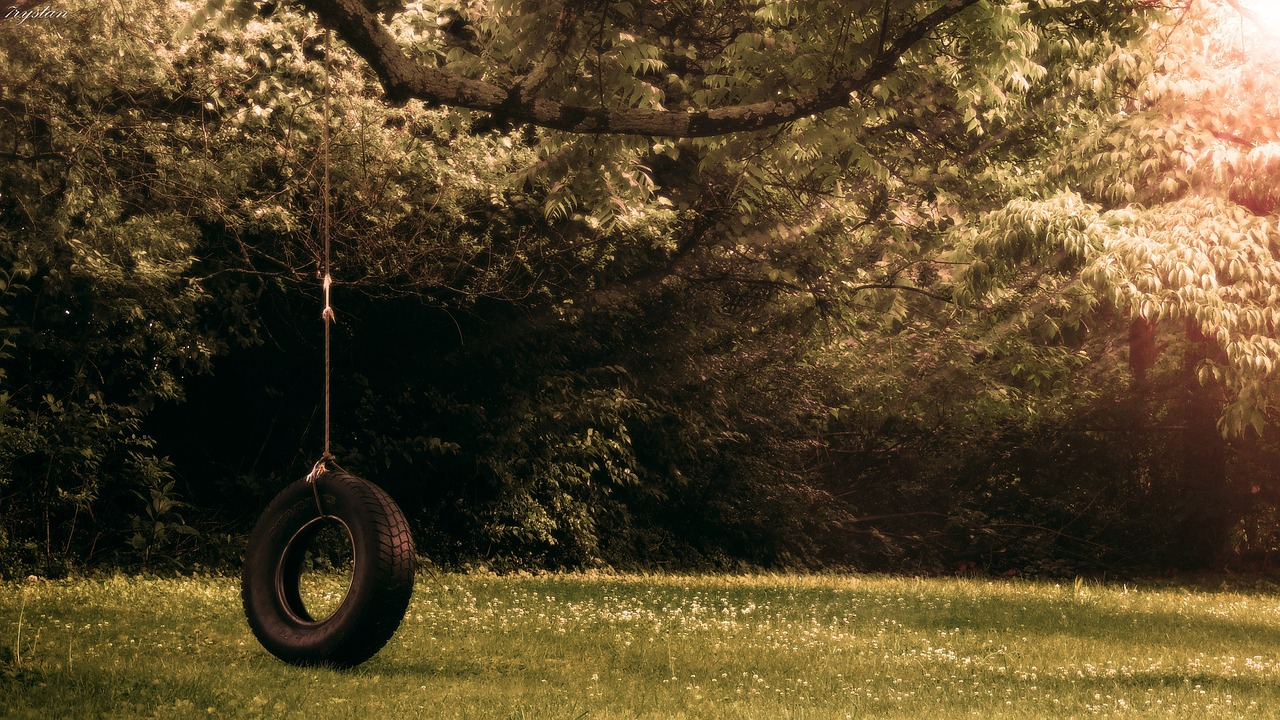
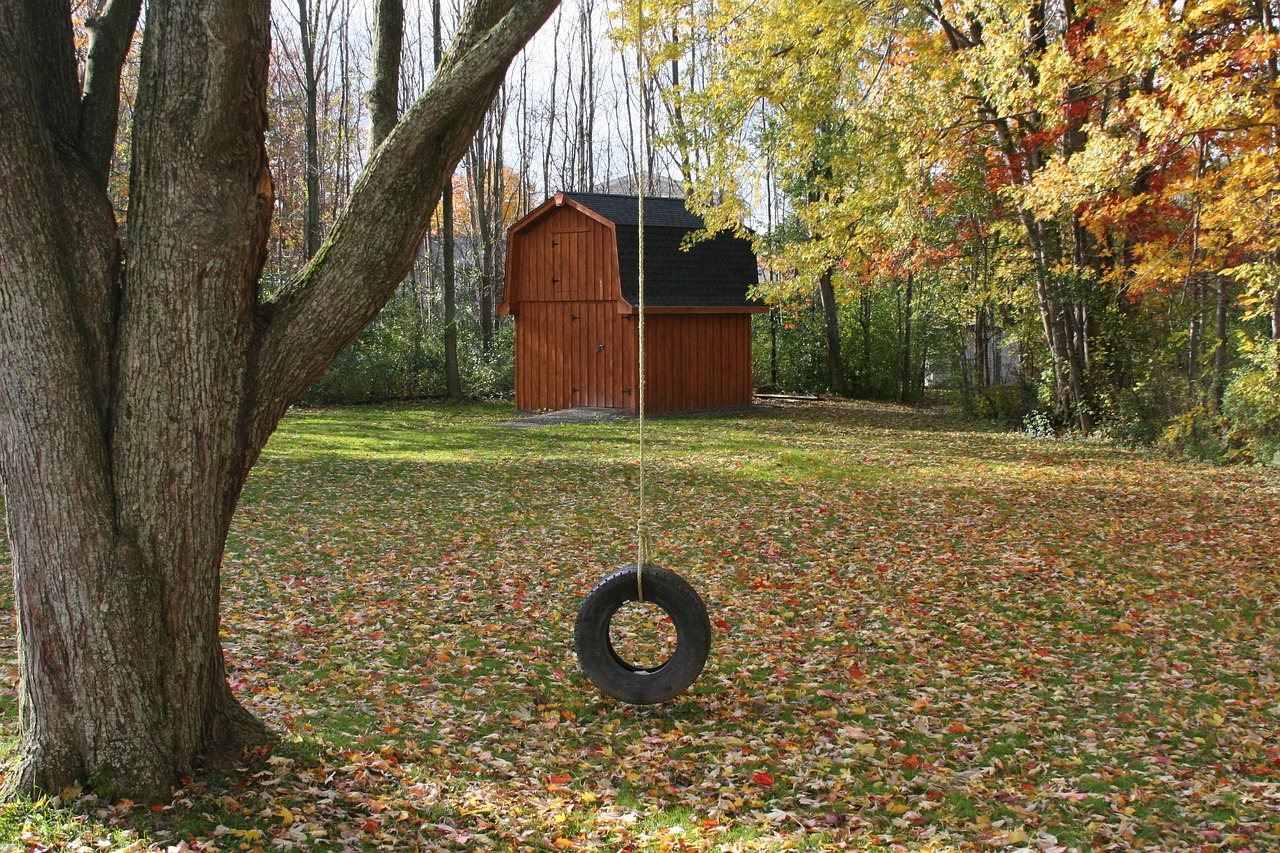
- Tire Swing: Hang a tire from a sturdy tree branch using heavy-duty rope or chain to create a fun and nostalgic swing for kids (and adults) to enjoy. Add a wooden seat or padding for added comfort and safety.
- Tire Ottoman: Stack tires on top of each other and secure them with adhesive or bolts to create a unique ottoman or footstool. Add a cushion or padded seat to the top tire for a comfortable and functional seating solution.
Maintenance Tips
To ensure your DIY tire seating stays in top condition and withstands the test of time, follow these simple maintenance tips:
- Regular Cleaning: Periodically clean the tires with soap, water, and a soft brush to remove dirt, dust, and debris. This will help prevent buildup and maintain the appearance of your seating.
- Inspect for Damage: Routinely inspect your DIY tire seating for signs of wear, damage, or deterioration. Replace any worn or damaged cushions, repaint chipped or faded areas, and tighten any loose bolts or fasteners as needed.
- Protect from the Elements: If possible, store your DIY tire seating indoors or cover it with a waterproof tarp or furniture cover during inclement weather to protect it from moisture, UV rays, and other environmental factors.
Environmental Impact
By embracing DIY tire seating, you’re not only creating stylish and functional furniture but also making a positive environmental impact:
- Upcycling: Repurposing old tires reduces waste and promotes resourcefulness by giving them new life and purpose. Instead of ending up in landfills or polluting the environment, old tires are transformed into valuable and functional assets.
- Reducing Waste: Every tire that gets transformed into seating is one less tire in the landfill, helping to mitigate the environmental impact of tire disposal and reduce the demand for new materials. By choosing sustainable and eco-friendly alternatives, you’re contributing to a cleaner, greener future for generations to come.
Community and Social Aspects
In addition to the environmental benefits, DIY tire seating projects can also foster a sense of community, collaboration, and creativity:
- Group Projects: Get friends, family, or neighbors involved in your DIY projects for a fun and rewarding bonding experience. Host DIY workshops or community events where participants can learn new skills, share ideas, and work together to create something meaningful and impactful.
- Sharing Ideas: Share your DIY creations and ideas with others online or in local communities to inspire and motivate others to join the DIY revolution. By sharing your knowledge, experiences, and tips, you can empower others to unleash their creativity and make a positive difference in their own lives and communities.
Conclusion
In conclusion, DIY tire seating offers a creative, cost-effective, and eco-friendly solution for transforming discarded tires into stylish and functional furniture pieces for your outdoor space. By following the step-by-step guide, incorporating your own unique flair, and embracing sustainability, you can create seating solutions that not only enhance your outdoor living area but also make a positive impact on the environment. So roll up your sleeves, unleash your creativity, and embark on your DIY tire seating journey today!
FAQs
- How do I choose the right tires for seating? Look for tires that are in good condition with minimal wear and tear. Avoid tires with punctures, cracks, or structural damage, as these may compromise the integrity and safety of your seating.
- Is DIY tire seating durable? When properly constructed and maintained, DIY tire seating can be surprisingly durable and long-lasting. Be sure to use high-quality materials, including outdoor paint and cushions designed for outdoor use, to ensure maximum durability and weather resistance.
- Can I use any type of paint for painting the tires? It’s best to use outdoor paint specifically formulated for use on various surfaces, including rubber and plastic. This type of paint provides better adhesion, durability, and weather resistance, ensuring your DIY tire seating looks great and withstands the elements over time.
- Are there any safety concerns with using old tires for seating? While old tires can be repurposed safely, it’s essential to take proper precautions to minimize risks and ensure a safe DIY experience. Thoroughly clean the tires to remove dirt and debris, wear protective gloves to prevent skin irritation, and work in a well-ventilated area to minimize exposure to paint fumes and other hazards.
- Can I add additional features to my DIY tire seating, such as armrests or cup holders? Absolutely! Get creative and customize your DIY tire seating to suit your preferences and needs. Adding features such as armrests, cup holders, or built-in storage compartments can enhance comfort, functionality, and overall enjoyment of your seating. Just be sure to plan and execute any modifications carefully to maintain structural integrity and safety.


