
How to Make Stunning DIY Tin Can Lanterns
Hey there, fellow DIY crafters! I’m excited to share a fantastic project that will not only illuminate your surroundings but also ignite your creativity. We’re about to embark on a journey to craft stunning DIY tin can lanterns – charming additions to your outdoor spaces that will cast a warm and inviting glow. So, gather your materials and let’s get started on this illuminating adventure!
Materials You’ll Need
Before we dive into the crafting process, let’s gather the essentials. Here’s what you’ll need:
1. Tin Cans
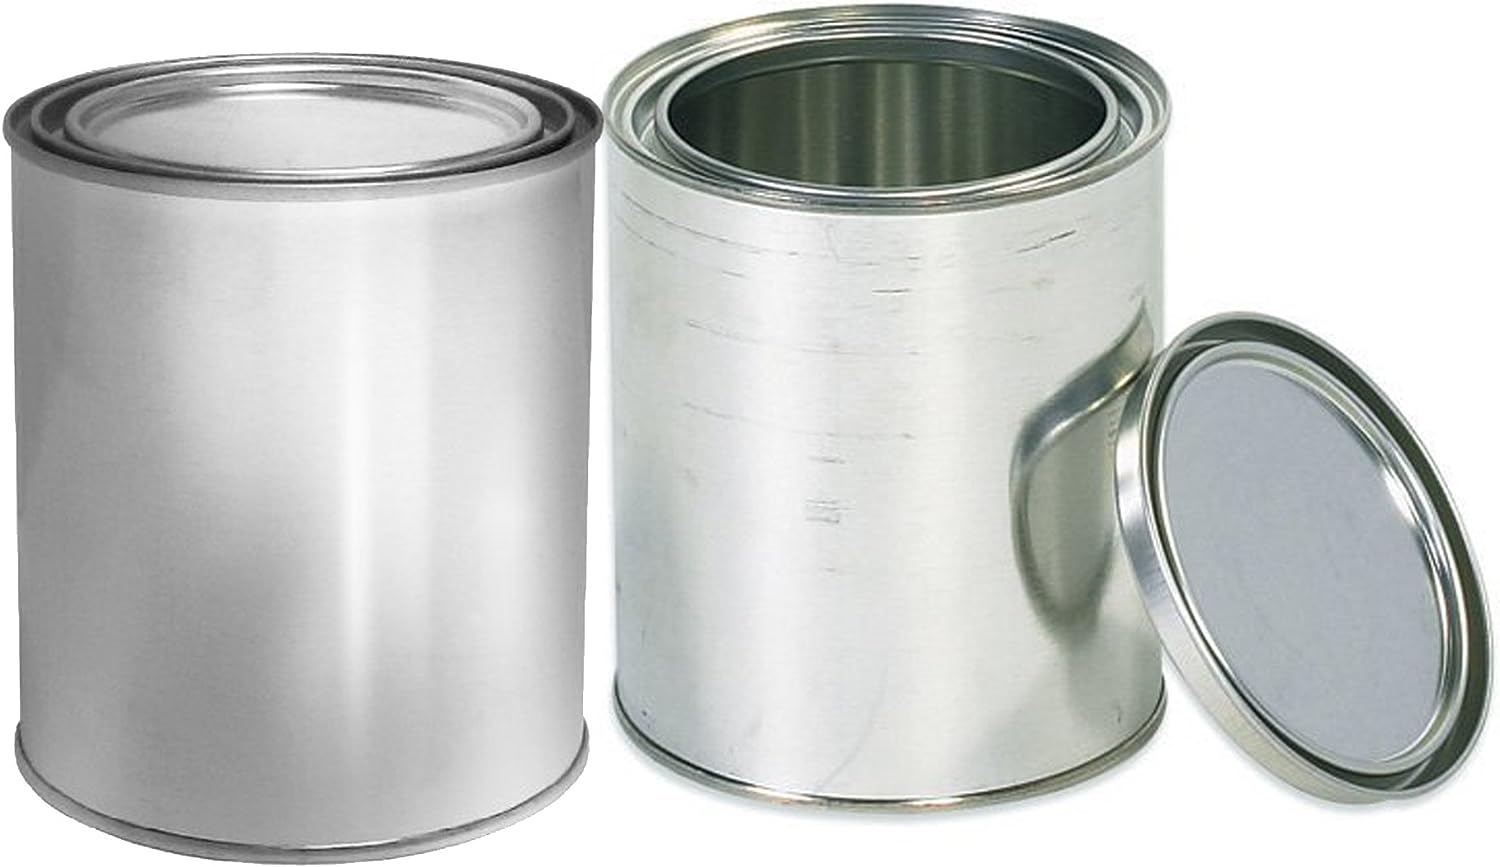
- Choose a variety of tin cans in different sizes and shapes. You could simply browse your food pantry for cans, but make sure they’re thoroughly cleaned and free from any sharp edges. If you want to purchase cans for this DIY project consider: AUTORIND Pint Size Unlined Can for a medium sized lantern and Empty Quart Paint Cans with Lids for a larger option.
2. Design Templates
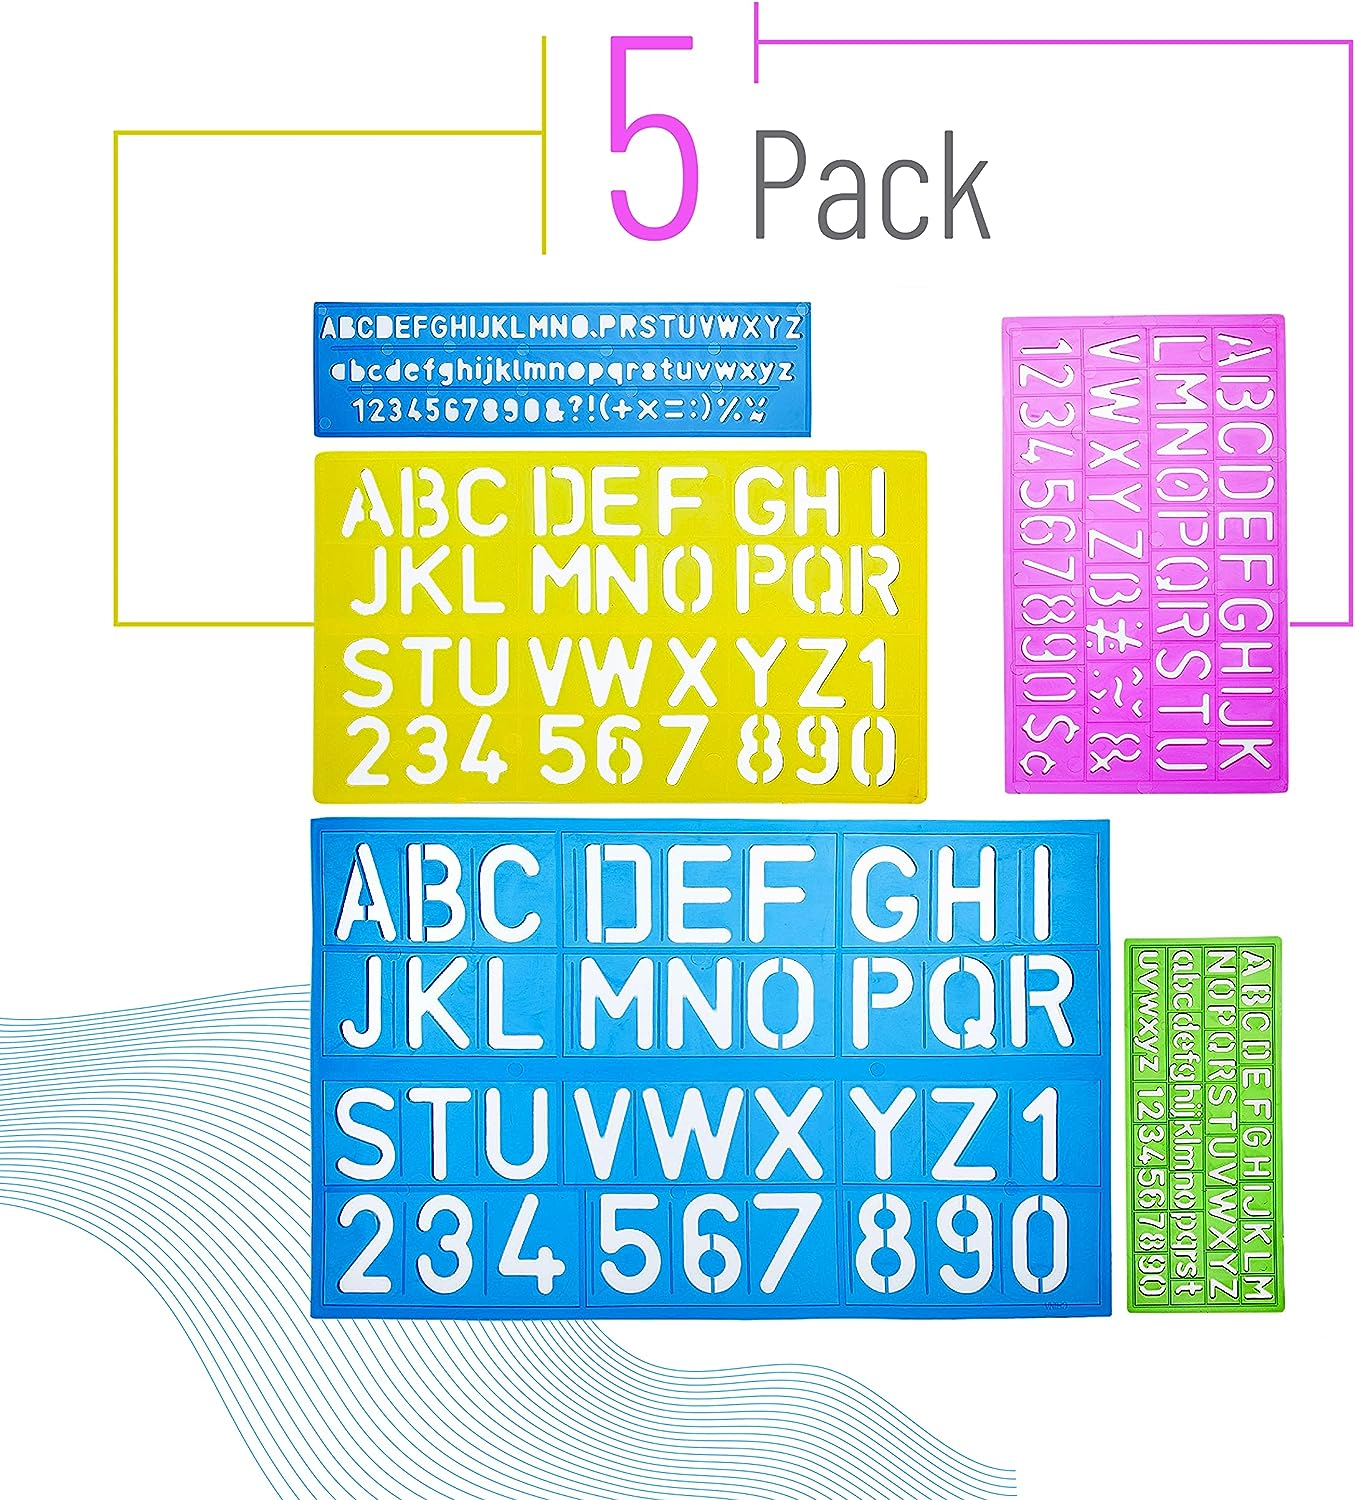
- Create or purchase design templates that you’ll be punching onto the tin cans. These can be intricate patterns, shapes, or even your initials. (Initials are generally the easiest option for this project). Check out the best initials stencil in the market.
3. Hammer and Nail

- These will be your trusty tools for punching holes into the tin cans. If you don’t have a reliable hammer and nail set laying around for convenient access, consider purchasing the Mr. Pen small hammer and nail kit.
4. Spray Paint
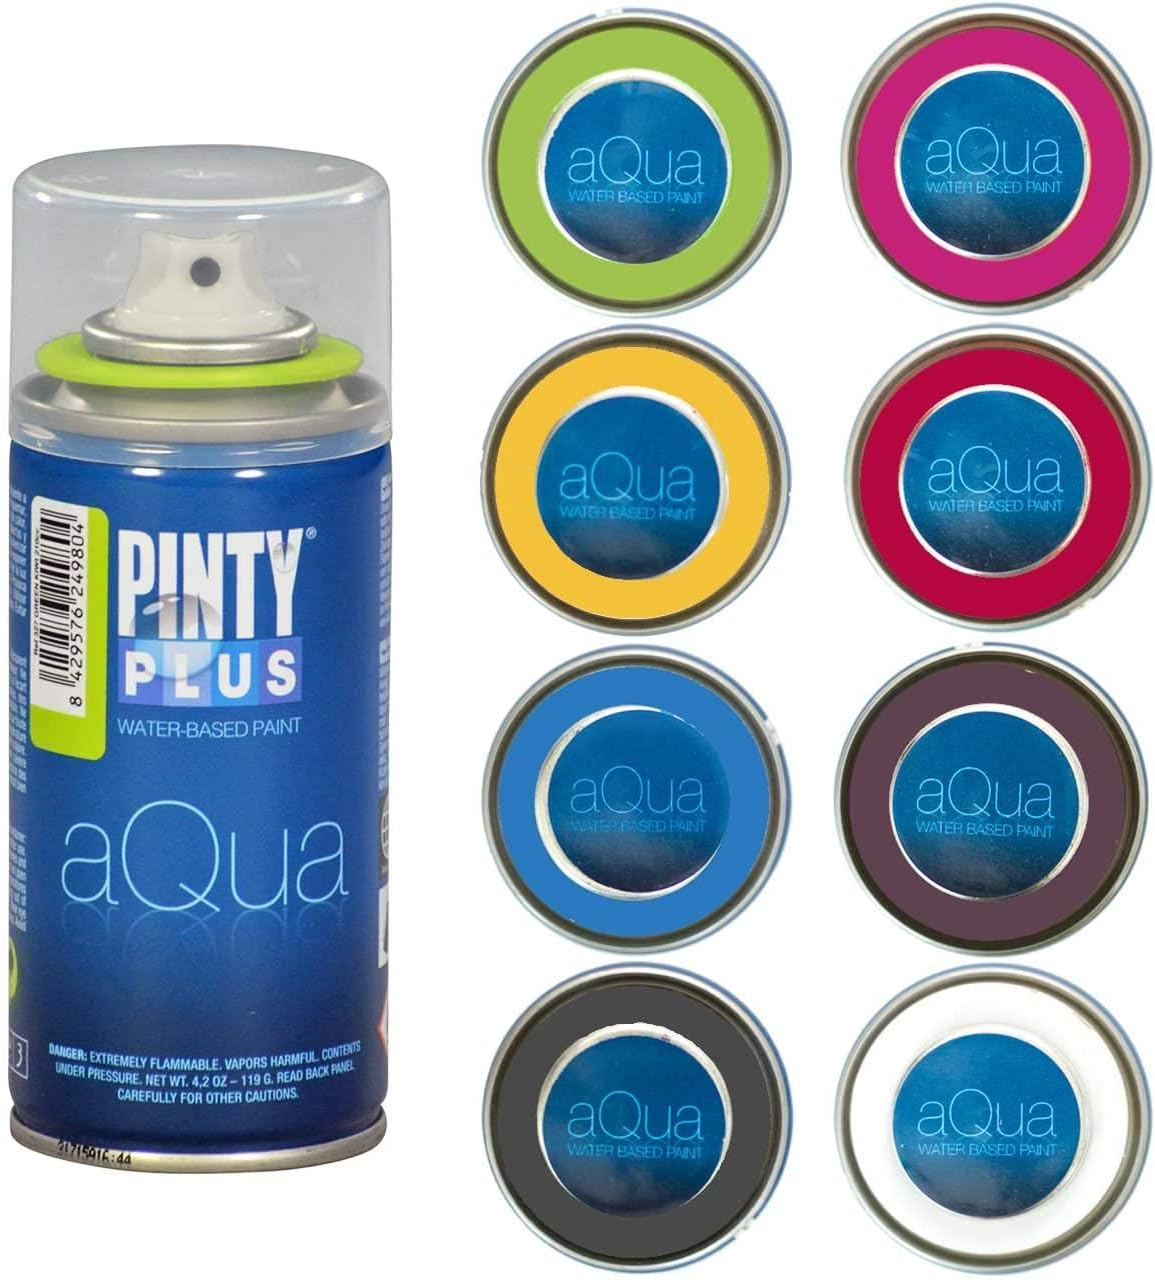
- Opt for spray paint in colors, like the Pintyplus Aqua Spray Paint Set, that match your outdoor decor. This will add a pop of color during the day and enhance the lantern’s beauty at night.
5. Tea Light Candles or LED Lights

- These will be the light sources for your lanterns. Choose real tea light candles for an authentic ambiance or LED lights for a safer option.
6. Wire or Twine

- You’ll need these to create handles for hanging your lanterns. One of the most popular options for making the lantern’s handle consist of paracord. WEREWOLVES 650lb Paracord is a fantastic recommendation for this specific DIY task.
Crafting Your Tin Can Lanterns
Now that we’ve gathered our materials, let’s dive into the creative process:
Step 1: Design and Template Preparation
Before you begin punching holes, have your design templates ready. You can draw these on paper and then tape them onto the tin cans. This will serve as your guide for creating the lantern’s pattern. You can also add indicators on your drawing as a way to mark each individual hole.
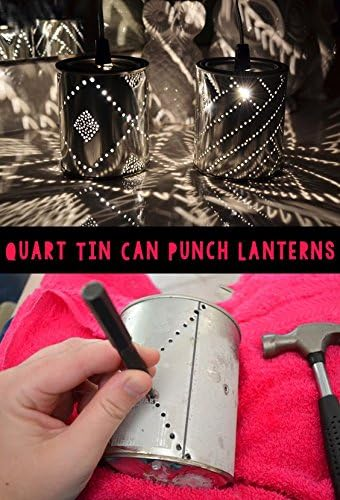
Step 2: Punching the Holes
Place the tin can on a sturdy surface and carefully start punching holes along the design lines using the hammer and nail. You can use cloth or a towel to absorb some of the impact from the hammer. Remember to space the holes evenly for a balanced and aesthetically pleasing look. The size of the hole is dependent upon the size of the nail you are using to create your desired design.
Step 3: Painting the Cans
Once you’ve punched your design, it’s time to paint the tin cans. Head outdoors or to a well-ventilated area, lay down some newspaper, and give the cans a few light coats of spray paint. Allow them to dry completely before moving on to the next step.
Step 4: Adding the Light Source
Now comes the magical part – adding the light! If you’re using tea light candles, place one in each tin can and light them up. If you prefer a safer option, opt for LED lights. Simply place them inside the cans, ensuring they’re secure and centered.
Step 5: Creating Handles
To hang your lanterns, you’ll need handles. Take a piece of wire or twine and attach it securely to opposite sides of the tin can by applying glue or another adhesive. Hold the handle securely in the adhesive for a couple minutes to let it set and bond. Make sure the handles are strong enough to support the weight of the can. (Same process can be complete with paracord if that is your material of choice).
Step 6: Illuminate and Enjoy!
As the sun sets and darkness envelops your surroundings, ignite the tea light candles or turn on the LED lights. Watch as your DIY tin can lanterns come to life, casting mesmerizing patterns of light and shadow. Hang them in your garden, on your porch, or even during outdoor gatherings – they’re sure to be a captivating conversation starter!
Why Choose DIY Tin Can Lanterns?
Making your own tin can lanterns isn’t just about creating beautiful decor; it’s about infusing your outdoor spaces with your unique style and personality. Here’s why I absolutely love this DIY project:
Budget-Friendly Creativity

Tin can lanterns are not only charming but also incredibly budget-friendly. Instead of splurging on expensive outdoor lighting, you can upcycle tin cans that you already have at home. It’s a creative way to reduce waste and save money!
Customizable Ambiance
With endless design possibilities, you can customize your lanterns to match any occasion or theme. Whether you’re hosting a romantic dinner, a festive party, or simply want to add a touch of magic to your everyday life, DIY tin can lanterns allow you to set the mood just the way you want.

Bonding Through Crafting
Crafting these lanterns can also be a fun family or friends’ activity. Gather your loved ones and spend quality time together, turning simple tin cans into works of art. The shared experience and sense of accomplishment are truly heartwarming.
Eco-Friendly Illumination

By using LED lights or tea light candles, you’re making an eco-friendly choice compared to conventional electric lighting. Embrace the warm, flickering glow that these lanterns emit, knowing that you’re also reducing your carbon footprint.
Conclusion: Shine On!
As we wrap up our journey into the world of DIY tin can lanterns, I encourage you to let your creativity shine. With a few simple materials and a dash of imagination, you can transform ordinary tin cans into captivating pieces of art that light up your nights. So, gather your tin cans, don your creative hat, and let your outdoor spaces glow with the warmth of your handmade lanterns.
FAQs About DIY Tin Can Lanterns
Q1: Are tin can lanterns safe to use with real candles?
Absolutely! However, it’s essential to keep a close eye on the candles and never leave them unattended while lit. Alternatively, you can opt for LED tea lights for a safer option.
Q2: Can I hang tin can lanterns indoors?
Certainly! Tin can lanterns can add a cozy and whimsical touch to indoor spaces as well. Just make sure to choose an appropriate spot away from flammable materials.
Q3: How can I make sure the paint adheres well to the tin cans?
Before painting, clean the tin cans thoroughly and consider using a primer designed for metal surfaces. This will help the paint adhere better and ensure a longer-lasting finish.
Q4: Can I punch different sizes of holes for varied lighting effects?
Absolutely! Experiment with hole sizes and spacing to create unique patterns of light and shadow. This adds an extra layer of artistic flair to your lanterns.
Q5: Can I personalize the lanterns with my own designs?
Definitely! In fact, personalizing your lanterns with your own designs is encouraged. Let your creativity run wild and make each lantern a true reflection of your style.


