
Turning an Old Frame into a Chic DIY Decorative Tray
Hey there, fellow home decor enthusiasts! As someone who takes pride in elevating the ambiance of my living space, I’m excited to share a truly satisfying project with you today. We’re about to embark on a creative journey that will transform an old frame into a chic and captivating decorative tray – a delightful blend of style and functionality that reflects your unique taste and crafting prowess.
Choosing the Right Frame for Your DIY Decorative Tray
Before we dive into the nitty-gritty of this endeavor, let’s begin by seeking out the ideal frame. As you embark on this treasure hunt, envision a frame that possesses character and charm. Explore your attic, wander through thrift stores, or repurpose a forgotten frame from your collection. Seek out intricate detailing, captivating patterns, or a distinctive shape – attributes that will form the very essence of your soon-to-be decorative tray.
Gathering Materials and Tools
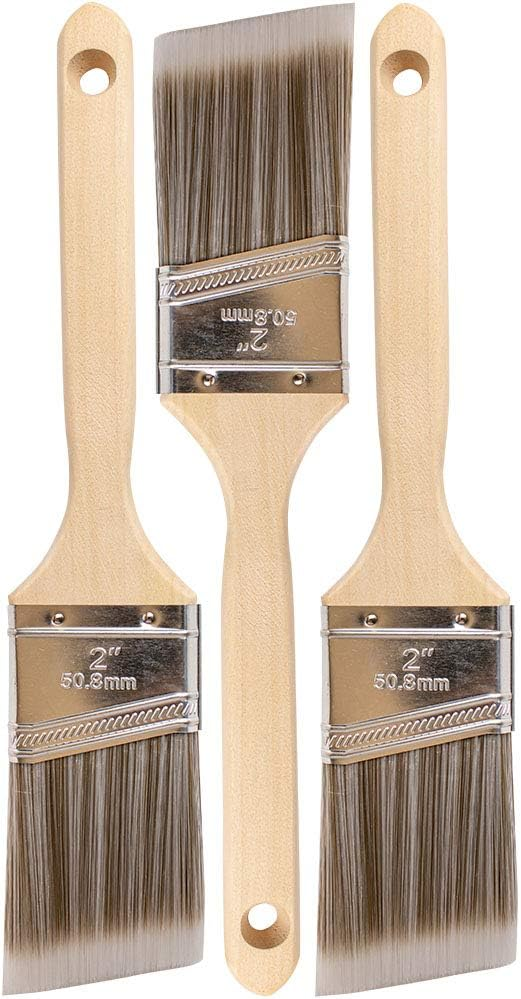
To bring your creative vision to life, it’s time to assemble the tools of the trade. Rest assured, this list is delightfully concise and purposeful. Gather the frame you’ve selected, a robust base material such as a 1/4″ thick plywood or MDF board, a measuring tape, a circular saw for precision, sandpaper to achieve that flawless finish, 1/2 – 1″ long (and #6 – #10 in size) sturdy screws for stability, graceful handles that marry form and function, an array of wood paint hues that speak to your soul, quality brushes to lend life to your vision, and embellishments such as stencils or decals for that final flourish.
Step-by-Step Guide to Creating Your Decorative Tray
Step 1: Preparing the Frame
This initial step involves transforming your chosen frame into an open canvas for creativity. Gently remove any glass or artwork, unveiling the frame’s bare beauty. What was once a vessel for memories or art will now serve as the structural heart of your decorative tray.
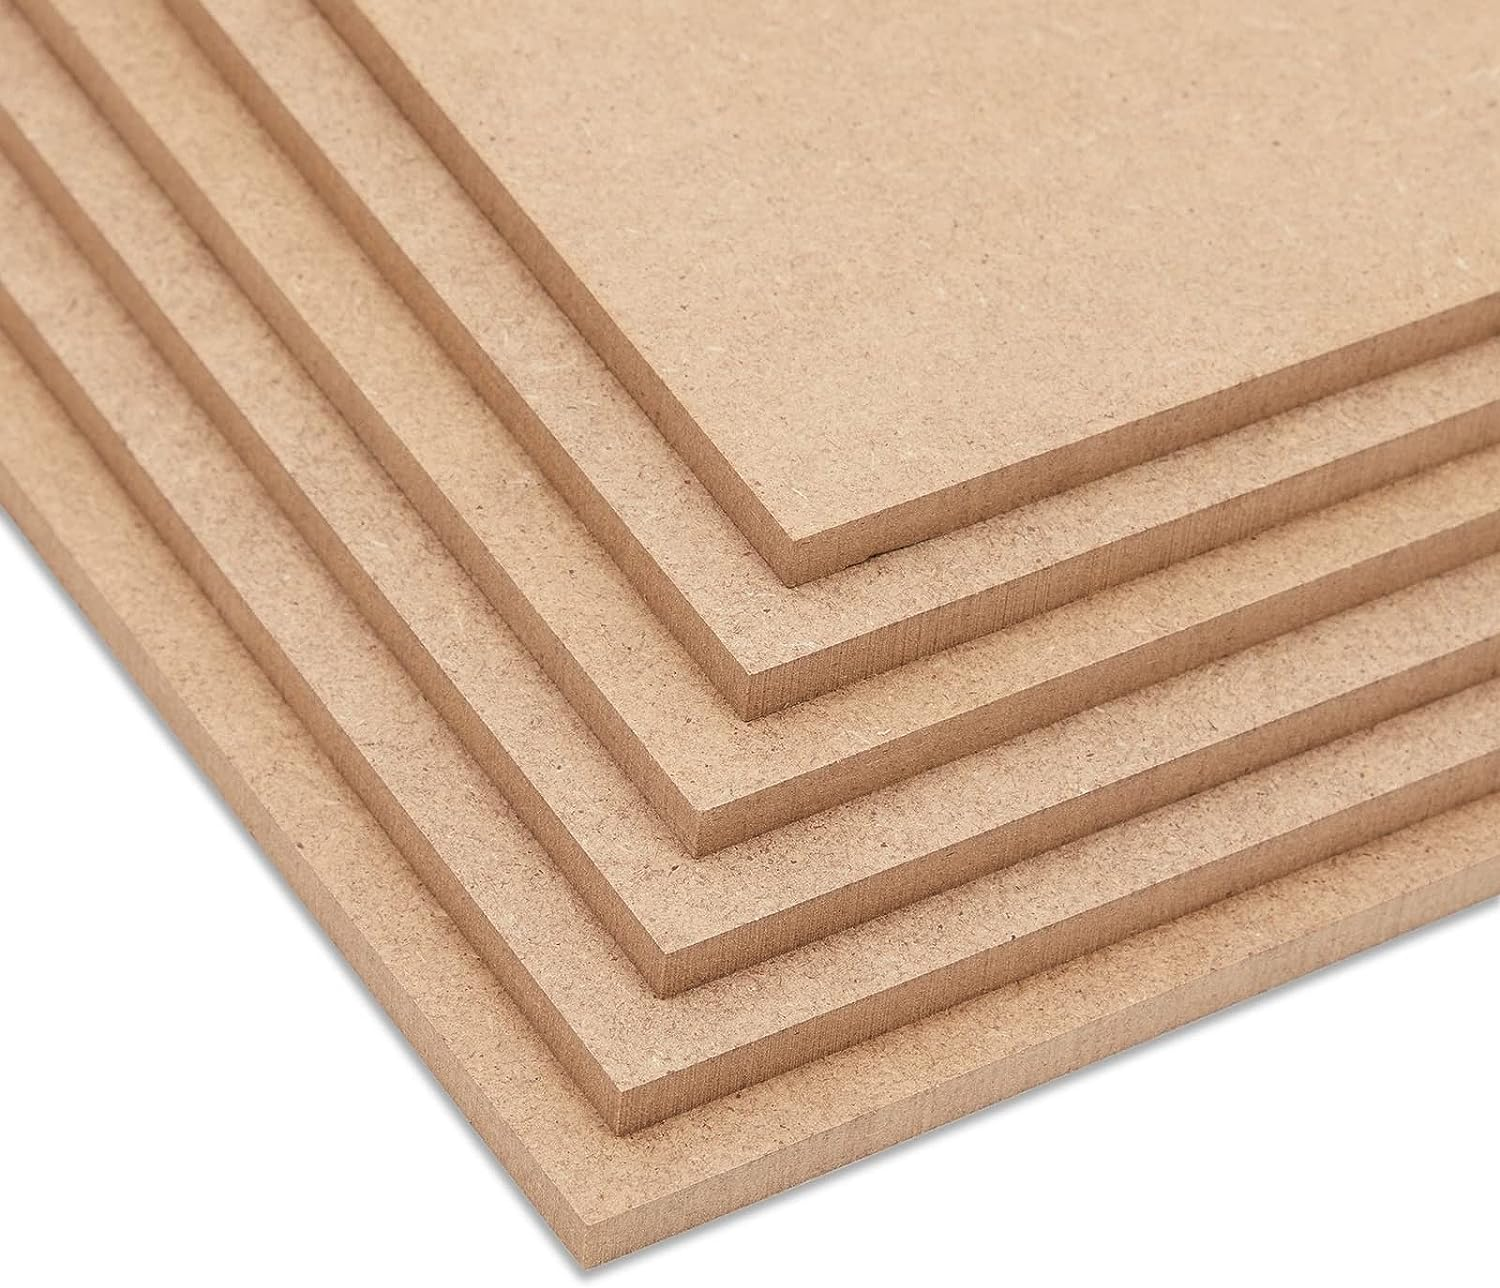
Step 2: Measuring and Cutting the Base
With purposeful precision, wield your measuring tape to decipher the inner dimensions of your frame. Armed with these measurements, the saw takes center stage. Cut the plywood or MDF board with a steady hand, ensuring a snug fit within the frame’s embrace. The resulting board becomes the foundation upon which your tray’s allure rests.
Step 3: Assembling the Tray
In this pivotal phase, the marriage between frame and base takes place. Align the base and frame meticulously, securing them harmoniously with screws. Your aim? To create a union that exudes strength and stability, ensuring your tray stands tall amid life’s demands.
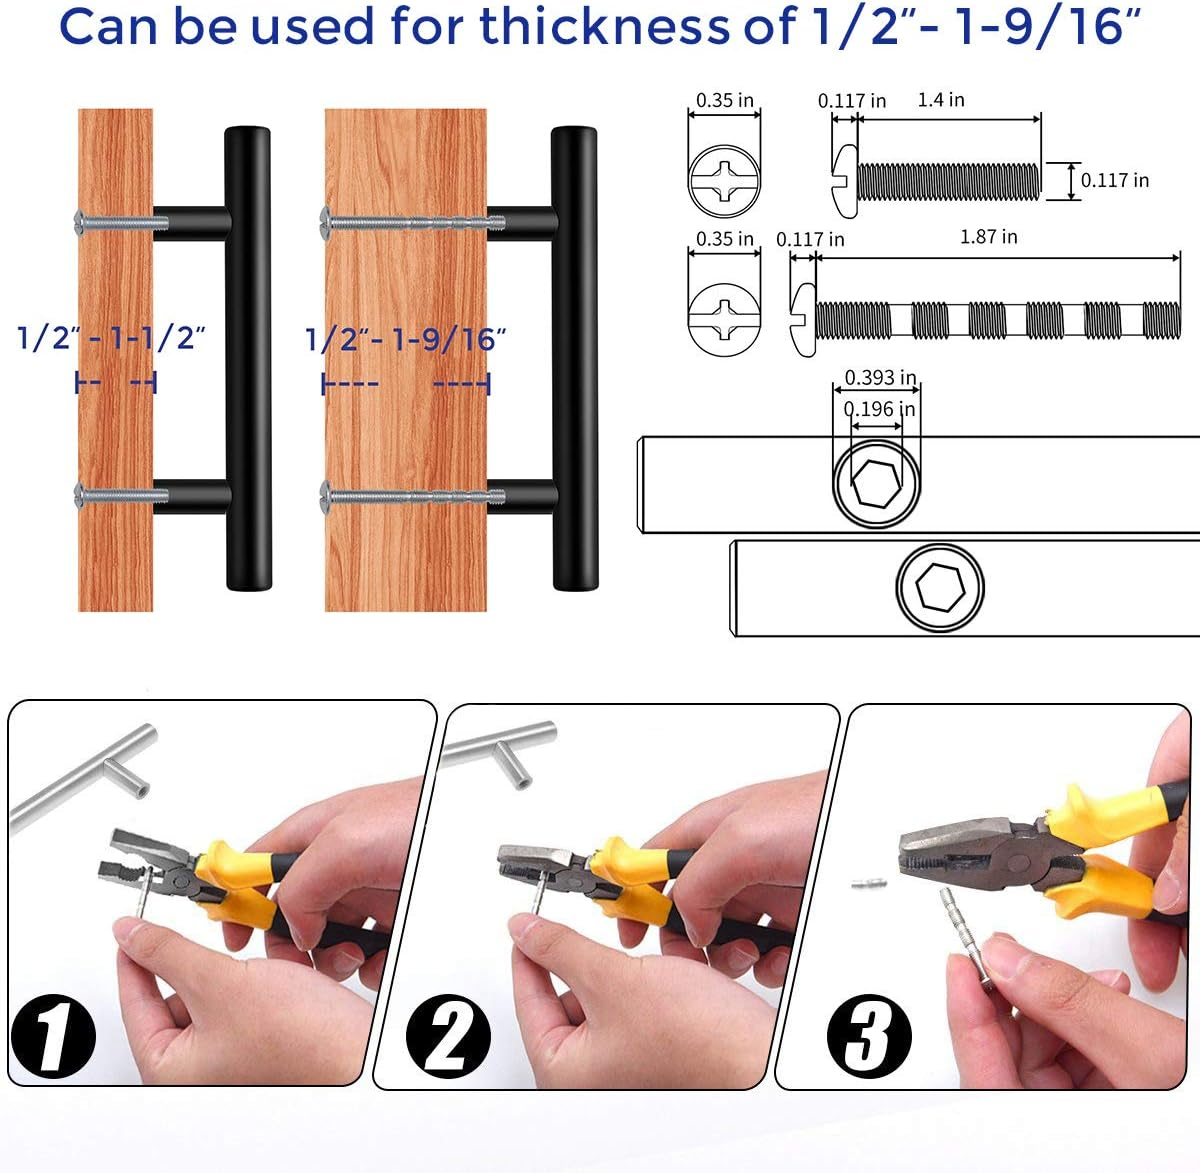
Step 4: Adding Handles for Functionality
Anticipating both form and function, it’s time to introduce handles that elevate your tray’s practicality. Carefully deliberate over handle placement, marking spots that offer ease of use. With screws and determination, affix the handles securely. This touch isn’t just about aesthetics – it’s a nod to seamless mobility and user-friendly charm.
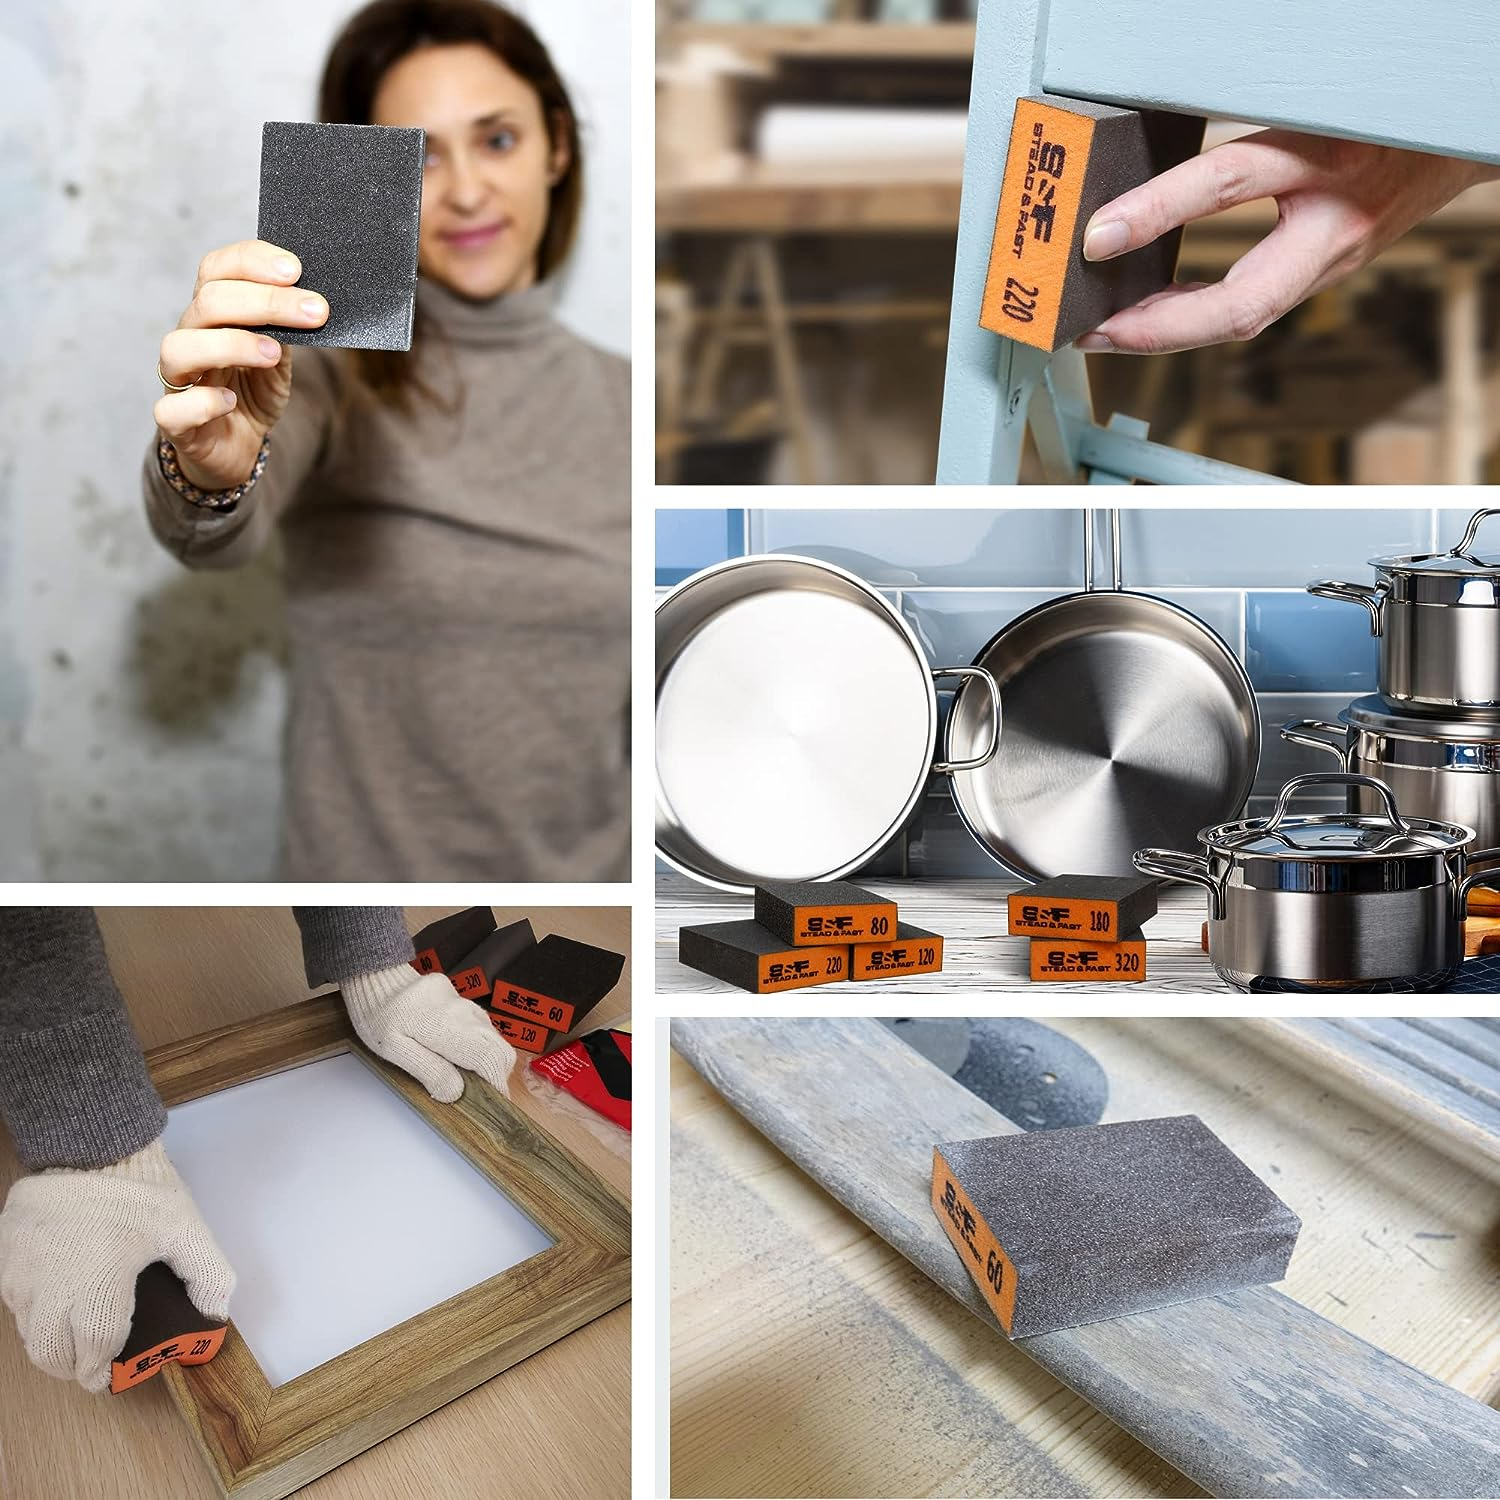
Step 5: Sanding and Smoothing
For a finish that radiates sophistication, embrace the sandpaper. Gently caress the edges of the base and frame, smoothing away any rough edges or imperfections. The result? A tactile delight that invites touch and admiration.
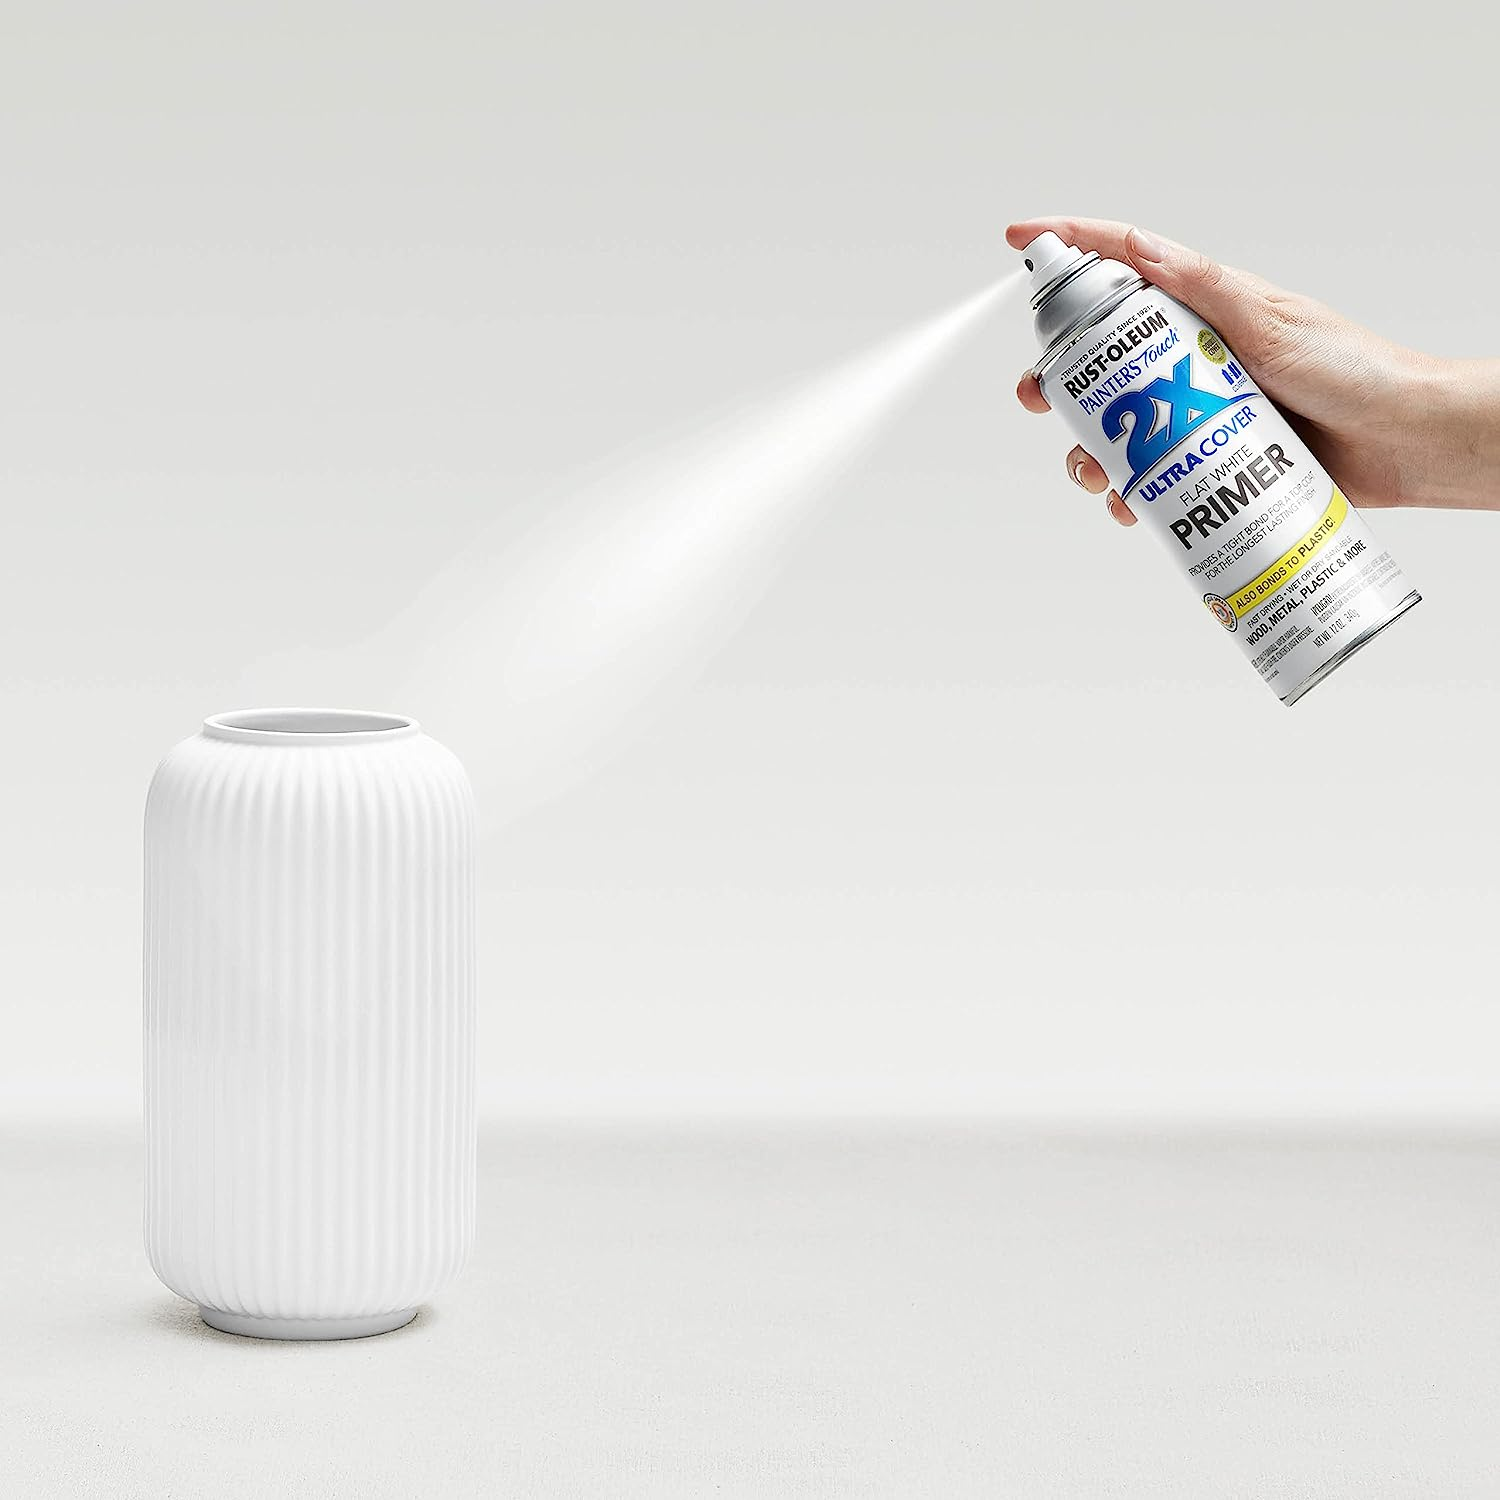
Step 6: Priming the Surface
Before paint graces the canvas, let primer lead the way. Apply a gentle coat of primer across the tray’s surface. This crucial step fosters an unbreakable bond between paint and material, ensuring longevity and vibrancy in the final masterpiece.
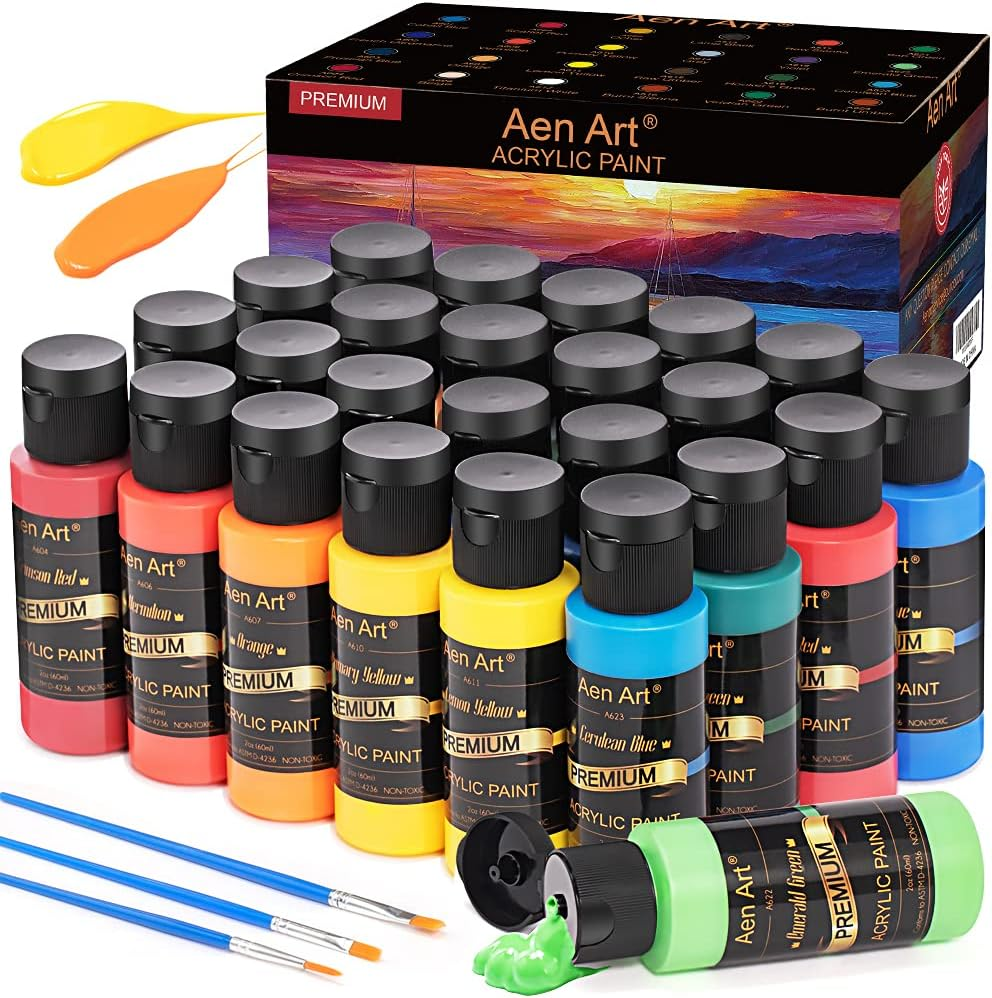
Step 7: Choosing the Perfect Paint
Every hue tells a story. With intentionality, select a paint color that not only resonates with your decor but also captures your essence. Acrylic paints, known for their versatility and array of shades, offer a splendid palette for your creative journey.
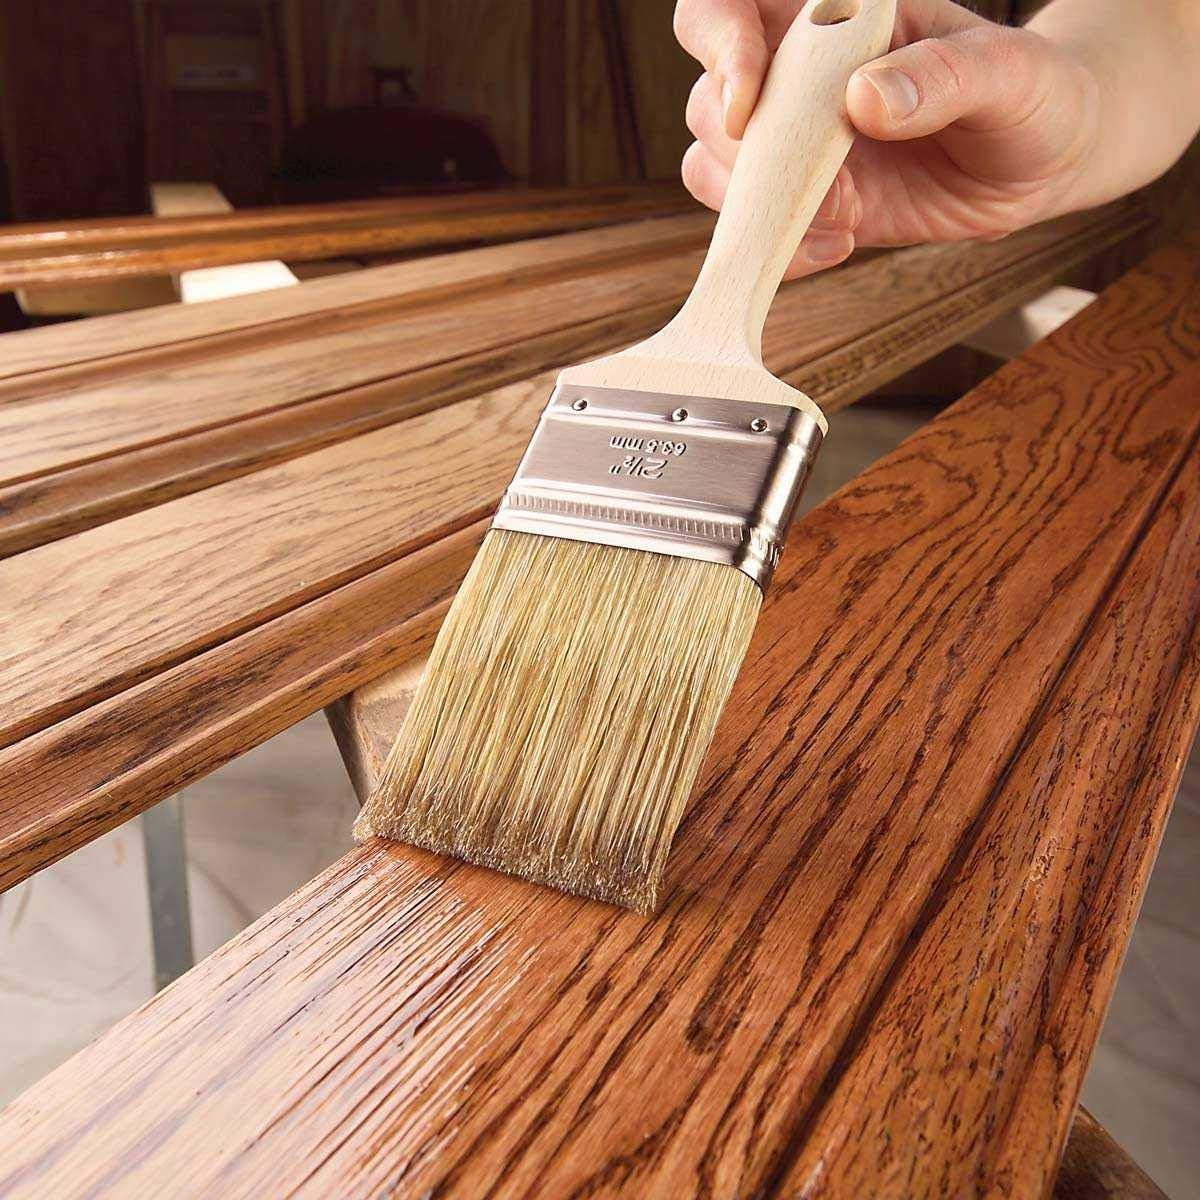
Step 8: Applying the First Coat
Embrace your brush with purpose as you apply the first layer of paint. Your goal isn’t perfection in one stroke; rather, it’s the gradual layering of color that will bring depth and character to your tray’s surface.
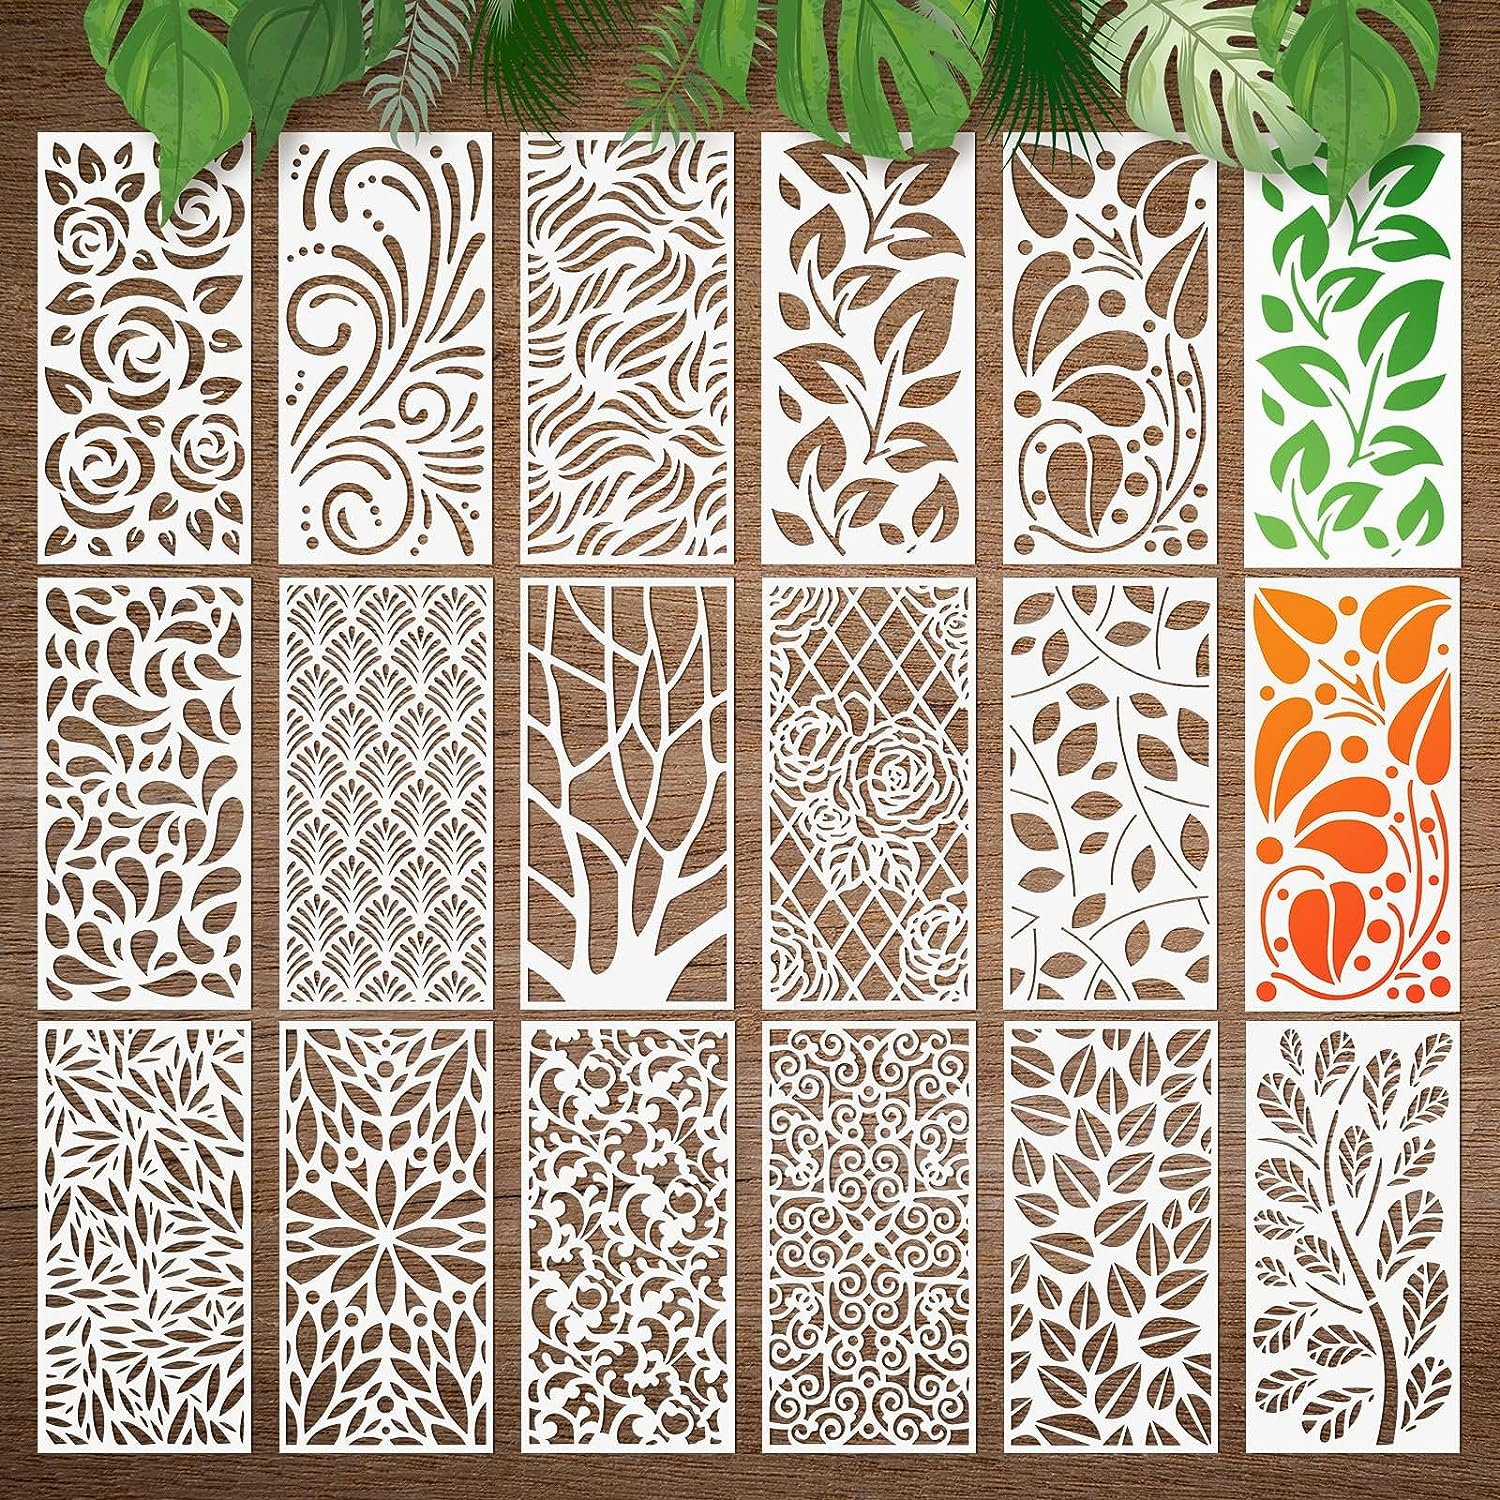
Step 9: Adding Personalized Designs
Unleash your inner artist as you approach this phase. Stencils, decals, or freehand strokes – the choice is yours. Infuse your tray with designs that mirror your personality, patterns that enchant, or even words that inspire. This step is the heart of your tray’s unique narrative.
Step 10: Applying Additional Coats
Like a skilled storyteller, layer upon layer, your tray’s tale unfolds. Add multiple coats of paint as needed, each stroke bringing you closer to your envisioned masterpiece. Patience and precision ensure a finish that commands attention.
Step 11: Seal and Protect
With your vision vividly captured in paint, it’s time to safeguard it for years to come. Apply a clear sealant, an armor against spills, scratches, and the wear and tear of time. This finishing touch ensures your tray remains an enduring testament to your craftsmanship.
Adding a Personal Touch: Painting and Decorating Your Tray
With your tray’s structure solidified, it’s time to embrace the artistic flourish. Whether your heart beats for monochrome elegance, rustic charm, or daring vibrancy, paint becomes your brush’s voice. Invite patterns that dance, quotes that inspire, and designs that capture fleeting moments.
Versatility and Style: Using Your Decorative Tray
Beyond its aesthetic allure lies the heart of your tray’s utility. A multifaceted gem, your DIY creation adapts to your whims. Serve a breakfast in bed, grace your vanity with cosmetics, add a touch of elegance to your coffee table, or command attention as a captivating centerpiece.
Why Opt for DIY Decorative Trays?
Budget-Friendly and Eco-Friendly Home Decor
Store-bought decorative trays can be pricey, and they might not align with your unique style. DIY trays are not only budget-friendly but also environmentally conscious, as you’re repurposing materials.
Customization to Match Your Aesthetic
With a DIY tray, you’re in control. You can customize every detail – from the frame design to the paint color – to match your home’s aesthetic perfectly.
Creating Meaningful Home Decor
Crafting your own decorative tray adds a personal touch to your home. It’s not just an item; it’s a piece of you embedded in your decor.
The Joy of Crafting and Upcycling
Engaging in DIY projects is incredibly rewarding. The process itself is therapeutic, and upcycling old items gives you a sense of accomplishment.
Gift-Giving with a Personalized Touch
DIY trays make fantastic gifts. Personalize one for a friend’s birthday, a housewarming, or any special occasion. It’s a thoughtful gesture that shows you’ve put heart into their present.
Conclusion
So there you have it, dear DIY enthusiasts – a guide to turning an old frame into a chic decorative tray that’s not only visually appealing but also a testament to your creativity. With a bit of imagination and some basic tools, you can craft a stunning piece of home decor that’s uniquely yours. Embrace the joy of DIY and create something picture-perfect for your space.
FAQs About DIY Decorative Trays
I’m not very crafty. Can I still make a DIY tray?
Absolutely! This project is beginner-friendly, and you’ll be surprised by how fun and easy it can be. Just take your time and follow the steps.
What if I don’t have an old frame?
No worries! Thrift stores and online marketplaces are treasure troves for finding inexpensive frames with character.
Can I use different materials for the base?
Definitely. Plywood and MDF are common choices, but you can get creative with reclaimed wood or even repurpose an old serving tray.
Do I need to be an artist to decorate the tray?
Not at all! You can use stencils, decals, or even tape for geometric patterns. Let your imagination guide you.
How do I maintain the tray’s appearance?
Simply wipe it down with a damp cloth when needed. The sealant will protect it, making maintenance a breeze.


