
The Easiest DIY Backyard Pond Guide for Beginners
Greetings, fellow nature devotees! If you’re ready to create a slice of paradise in your backyard, then this step-by-step guide is your ticket to success. We’ll break down the process of crafting the easiest DIY backyard pond so that even beginners can dive right in and enjoy the rewards.
Visualize this: the gentle symphony of trickling water, vibrant aquatic plants dancing in the breeze, and perhaps a school of fish performing their aquatic ballet. Buckle up, pals, because I’m about to be your guide on this fantastic odyssey.
Step-by-Step Guide to Creating the Easiest DIY Backyard Pond
Step 1: Choosing the Right Location
Your backyard pond’s location is pivotal. Aim for a spot that receives at least 4 to 6 hours of sunlight daily. Sunlight promotes healthy plant growth and helps prevent algae overgrowth. However, too much sun can lead to excessive evaporation, so some shade during the hottest parts of the day is beneficial. Additionally, consider the proximity of trees. You want to avoid areas where falling leaves could accumulate in the water.
Step 2: Selecting the Pond Design and Size
As beginners, simplicity is key. Opt for a kidney-shaped or circular design, which are easier to create and maintain. A pond with a diameter of around 6 to 8 feet strikes a balance between being visually appealing and manageable. Natural designs blend seamlessly with your yard’s aesthetics, requiring less effort in shaping the edges.
Step 3: Gathering Essential Tools and Materials
Before you start digging, make sure you have the necessary tools and materials on hand. You’ll need a:
- large garden shovel for excavation,
- a pond liner to prevent leaks,
- rocks and pebbles for both aesthetic and habitat purposes,
- a water pump to circulate water and prevent stagnation,
- and aquatic plants to add life and beauty to your pond.
Step 4: Marking and Excavating the Pond Area
Use ropes or hoses to outline the shape of your pond. This gives you a clear visual guide while excavating. Start digging from the center, gradually working your way outward. The depth should be around 18 to 24 inches, with gently sloping sides. The excavated soil can be used to build up the edges of the pond, creating a more natural appearance.
Step 5: Lining and Filling the Pond

The pond liner is your pond’s insurance policy against leaks. Carefully place the liner in the excavated hole, ensuring it covers the entire area and extends over the edges. Smooth out wrinkles and creases to ensure a snug fit. Once the liner is in place, start filling the pond with water. If possible, use rainwater collected in a barrel to avoid introducing chlorine and other chemicals into the pond. As the pond fills, adjust the liner and smooth out any wrinkles that may form.
Step 6: Adding Rocks, Plants, and Decorations
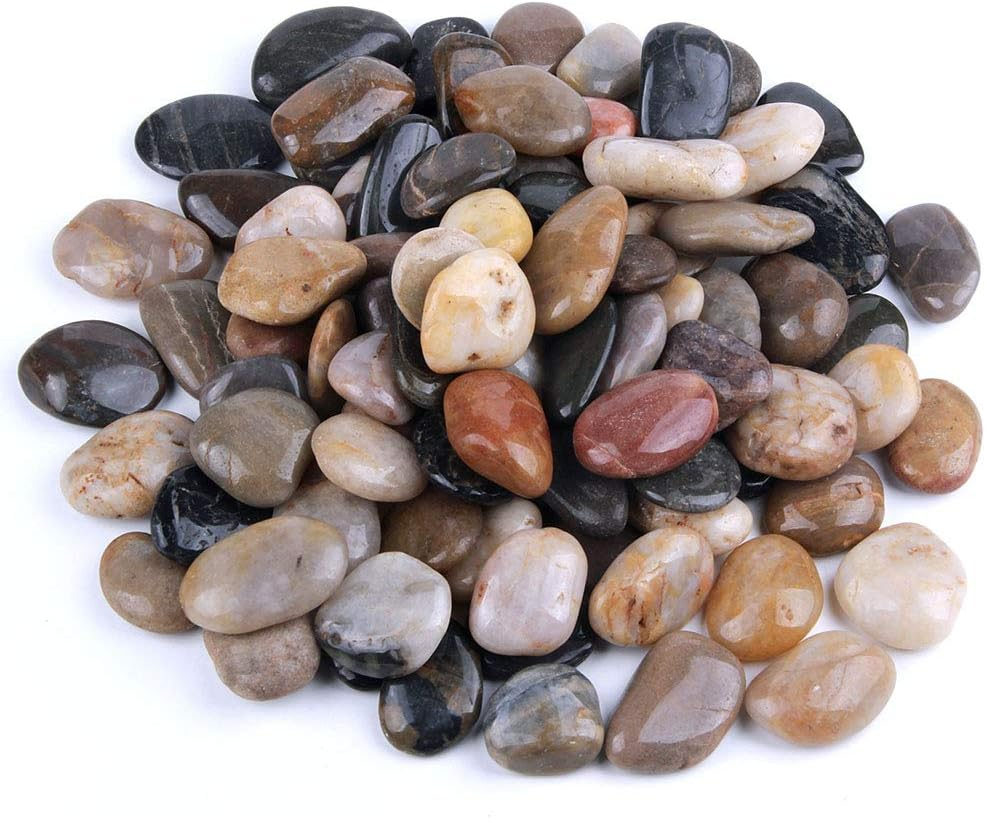
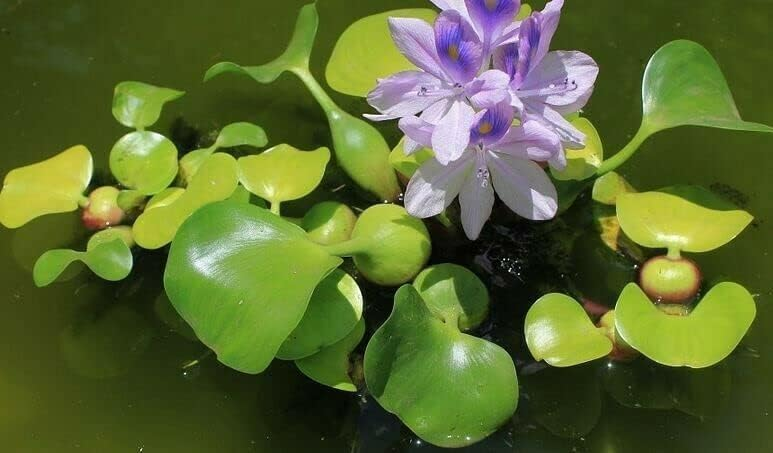
Now comes the creative part. Arrange rocks and pebbles around the edges of the pond, allowing some to partially submerge. These rocks serve as both aesthetic elements and resting places for aquatic life. Choose a variety of aquatic plants such as water lilies, water hyacinths, and submerged oxygenators. These plants not only enhance the beauty of your pond but also help maintain water clarity by absorbing excess nutrients.
Step 7: Introducing Fish and Wildlife
Hardy fish like goldfish or mosquito fish are perfect for beginners. They are resilient and adapt well to pond environments. Before adding fish, allow the pond to establish for a few weeks to build up beneficial bacteria that aid in maintaining water quality. Create nooks and crannies using rocks and plants to offer hiding places for fish and attract local wildlife like frogs and dragonflies.
Step 8: Basic Maintenance and Care
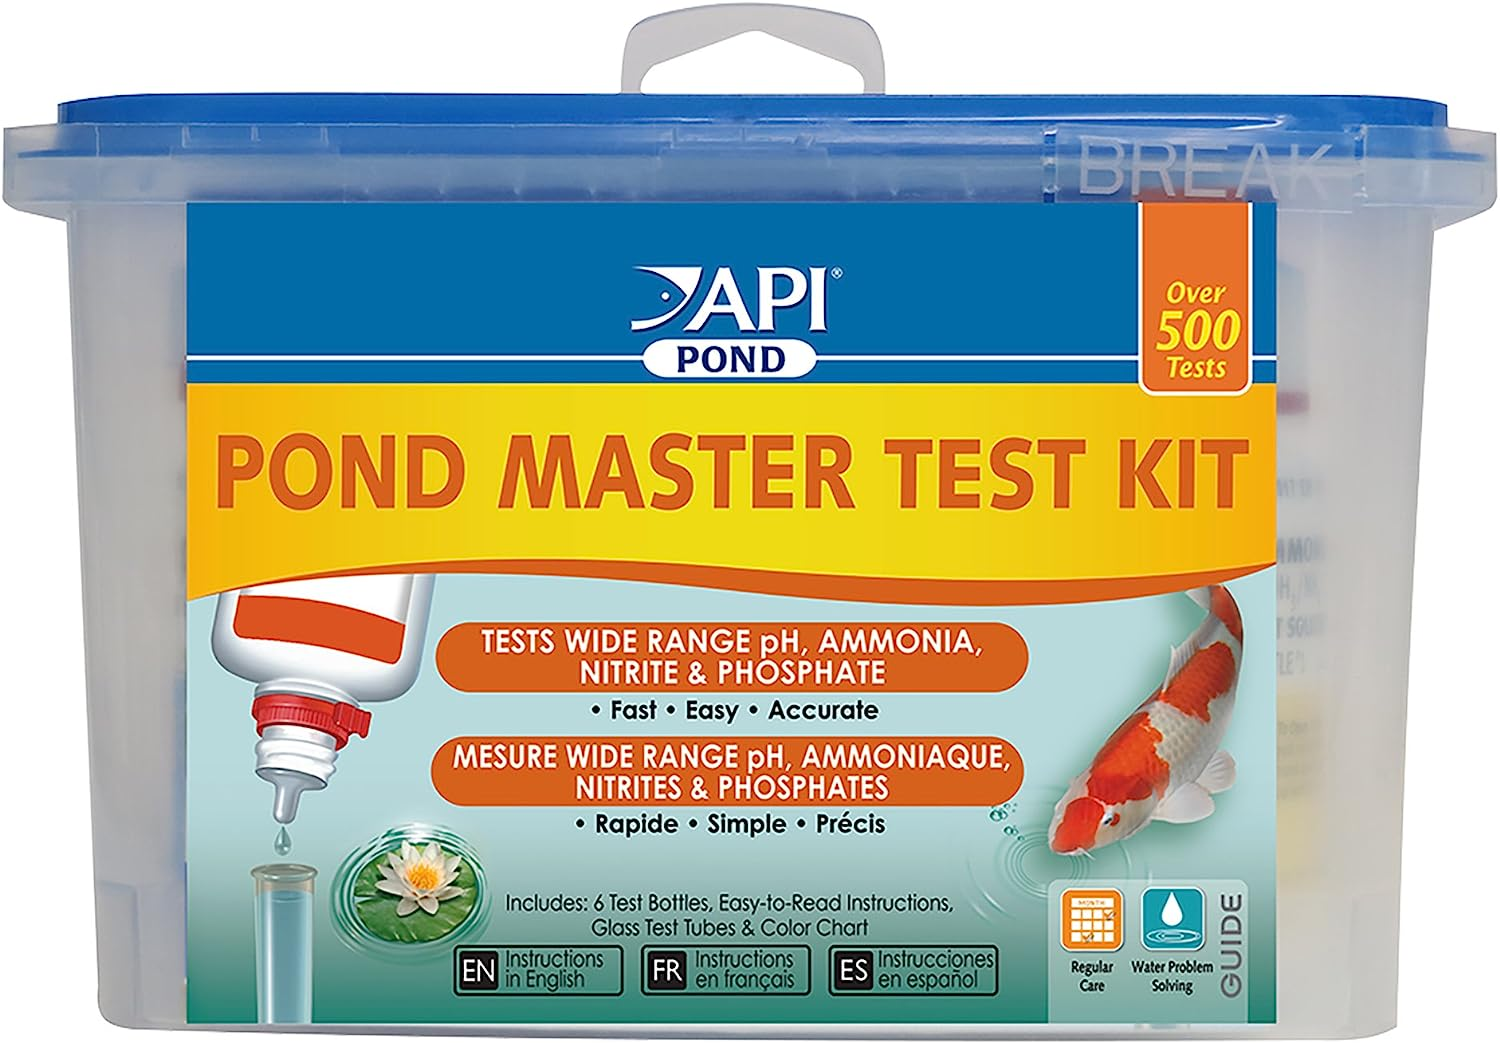
Regular maintenance keeps your pond thriving. Use a water testing kit to monitor parameters such as pH and ammonia levels. Remove debris like fallen leaves and excess plant matter to prevent water quality issues. If plant growth becomes excessive, thin out the plants to maintain a balanced ecosystem. Consider adding a small water pump or aerator to keep the water moving and oxygenated, promoting a healthy environment for aquatic life.
Step 9: Troubleshooting Common Issues
Algae blooms and excess plant growth are common challenges. To tackle algae, introduce more aquatic plants that compete for nutrients and shade the water surface. If plants become overgrown, prune them regularly and remove decaying portions. Maintaining a balance between fish, plants, and water quality is key to preventing these issues.
Step 10: Enhancing the Pond Ambiance
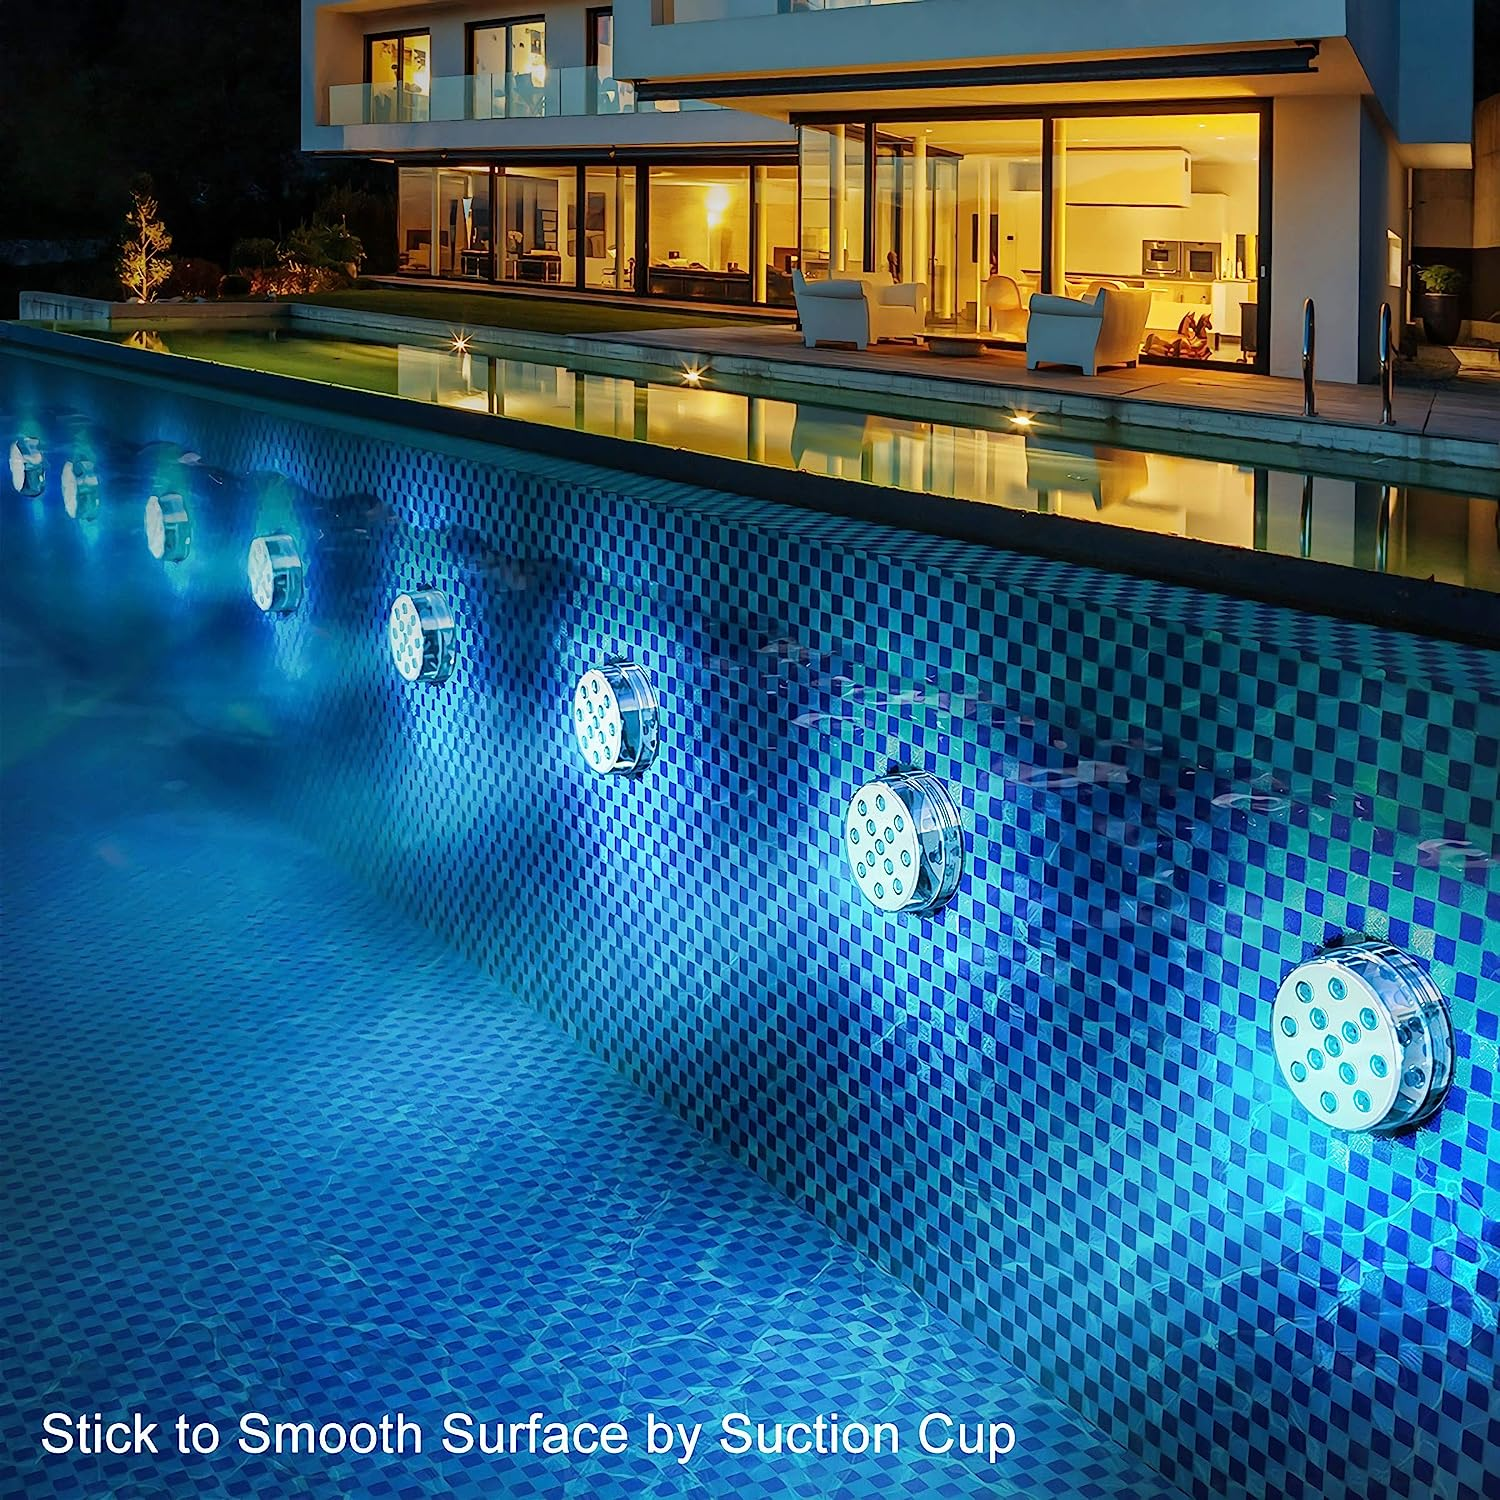
Take your pond to the next level by adding a submersible light or two. These lights not only create a captivating visual display but also extend your pond’s charm into the evening hours. For a touch of elegance, consider installing a small fountain or waterfall. The gentle sound of flowing water adds an extra layer of serenity to your outdoor space.
Step 11: Sustainable Practices for Your Pond
Promote sustainability by using organic fertilizers for your plants to minimize nutrient runoff into the pond. Collect rainwater in barrels to fill your pond or top it off during dry spells, reducing your reliance on tap water. These eco-friendly practices contribute to the overall health of your pond and minimize your environmental impact.
Step 12: Sharing Your Pond Journey
Document your pond creation journey through photos and posts on social media platforms or gardening forums. Engage with other pond enthusiasts, share your successes and challenges, and learn from their experiences. Being part of a community can provide valuable insights and motivation throughout your pond-keeping journey.
Step 13: Conclusion
Congratulations, you’ve successfully navigated the easiest DIY backyard pond creation process! From selecting the perfect location to introducing aquatic life, each step contributes to your very own slice of paradise. With patience and a bit of creativity, you’ve transformed your outdoor space into a haven of tranquility and natural beauty. Now, take a moment to revel in your accomplishment and enjoy the soothing embrace of your backyard oasis.
FAQs About DIY Backyard Ponds
How deep should my pond be?
A: A depth of 18 to 24 inches is a safe bet for most ponds. However, consider local climate and the type of fish you plan to keep.
Can I use tap water immediately to fill my pond?
A: It’s a good idea to let tap water sit for a day or two to allow chlorine to evaporate before adding it to your pond.
How do I prevent my pond from becoming a mosquito breeding ground?
A: Introduce mosquito-eating fish or add mosquito dunks containing larvicide to keep these pesky insects at bay.
Can I keep turtles in my pond?
A: While it’s possible, turtles require specific care and attention. Make sure you’re well-informed about their needs before introducing them to your pond.
What’s the best way to clean the pond without harming the fish and plants?
A: Use a pond net to remove debris and perform partial water changes regularly. Avoid harsh chemicals that could harm your aquatic inhabitants.


